Wire Tap Install
Use this method only when your vehicle requires a wire-tap N-Link connection. Current wire-tap vehicles are listed on Compatible Vehicles.
1
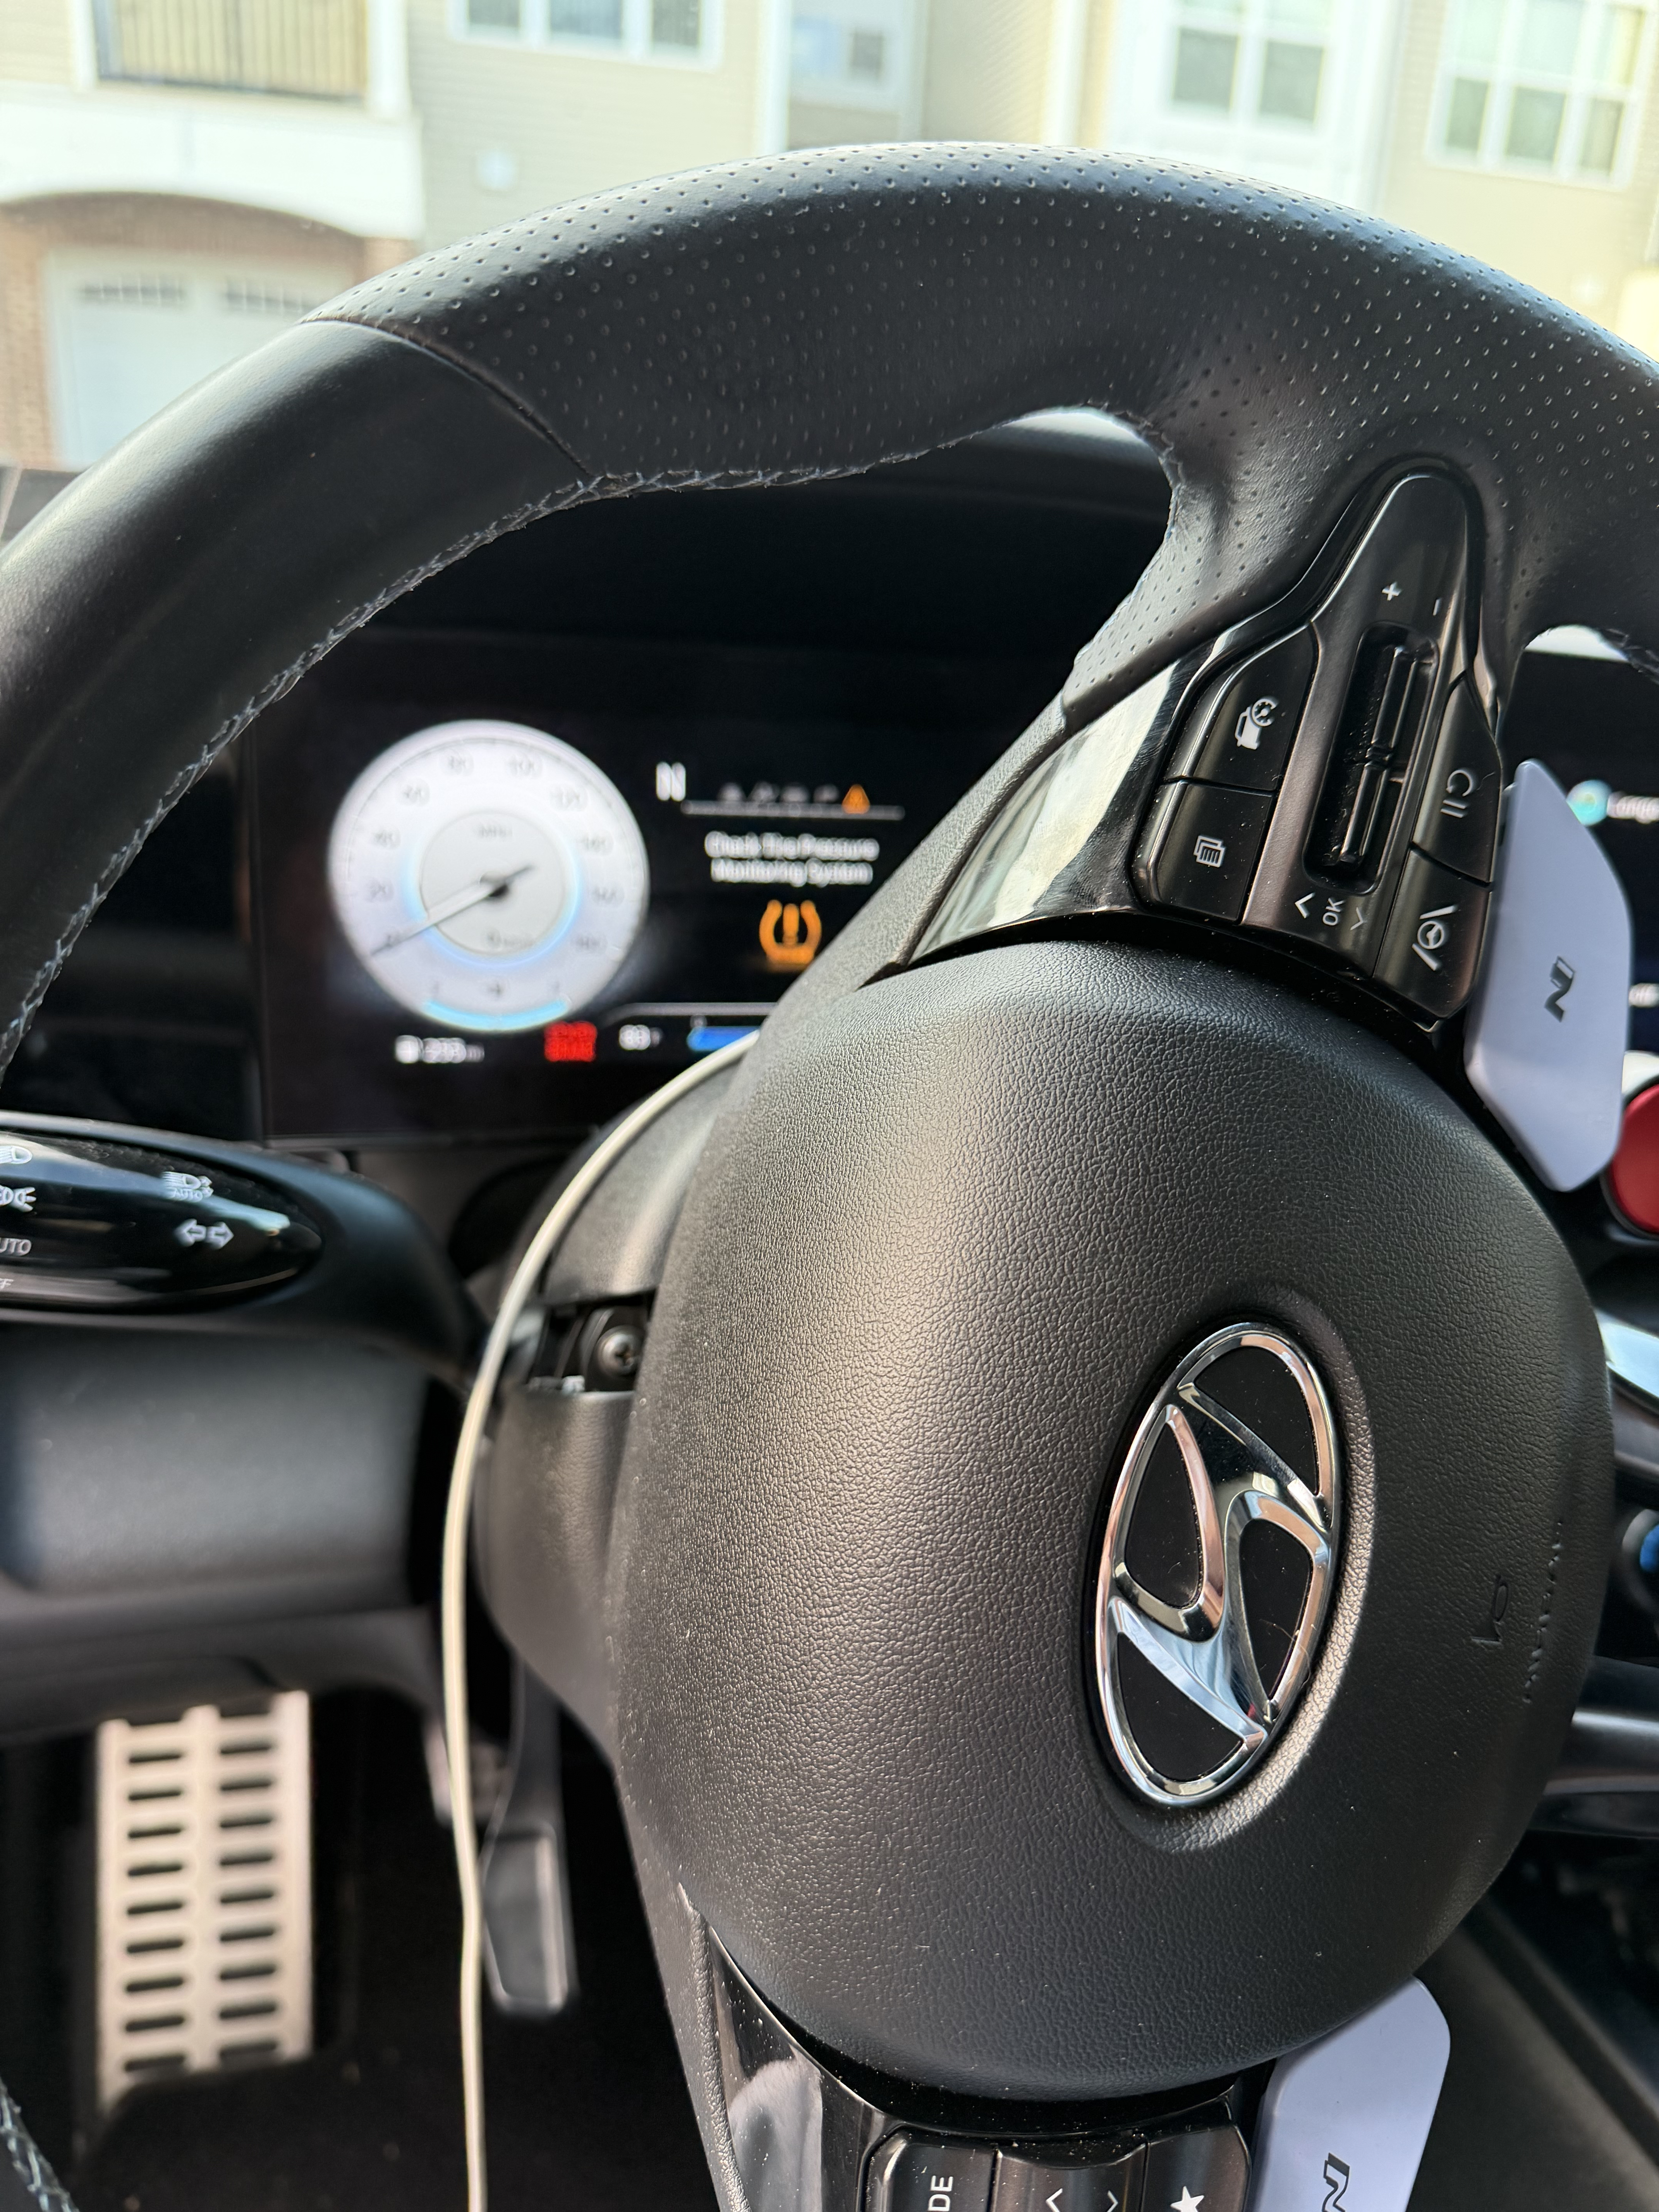
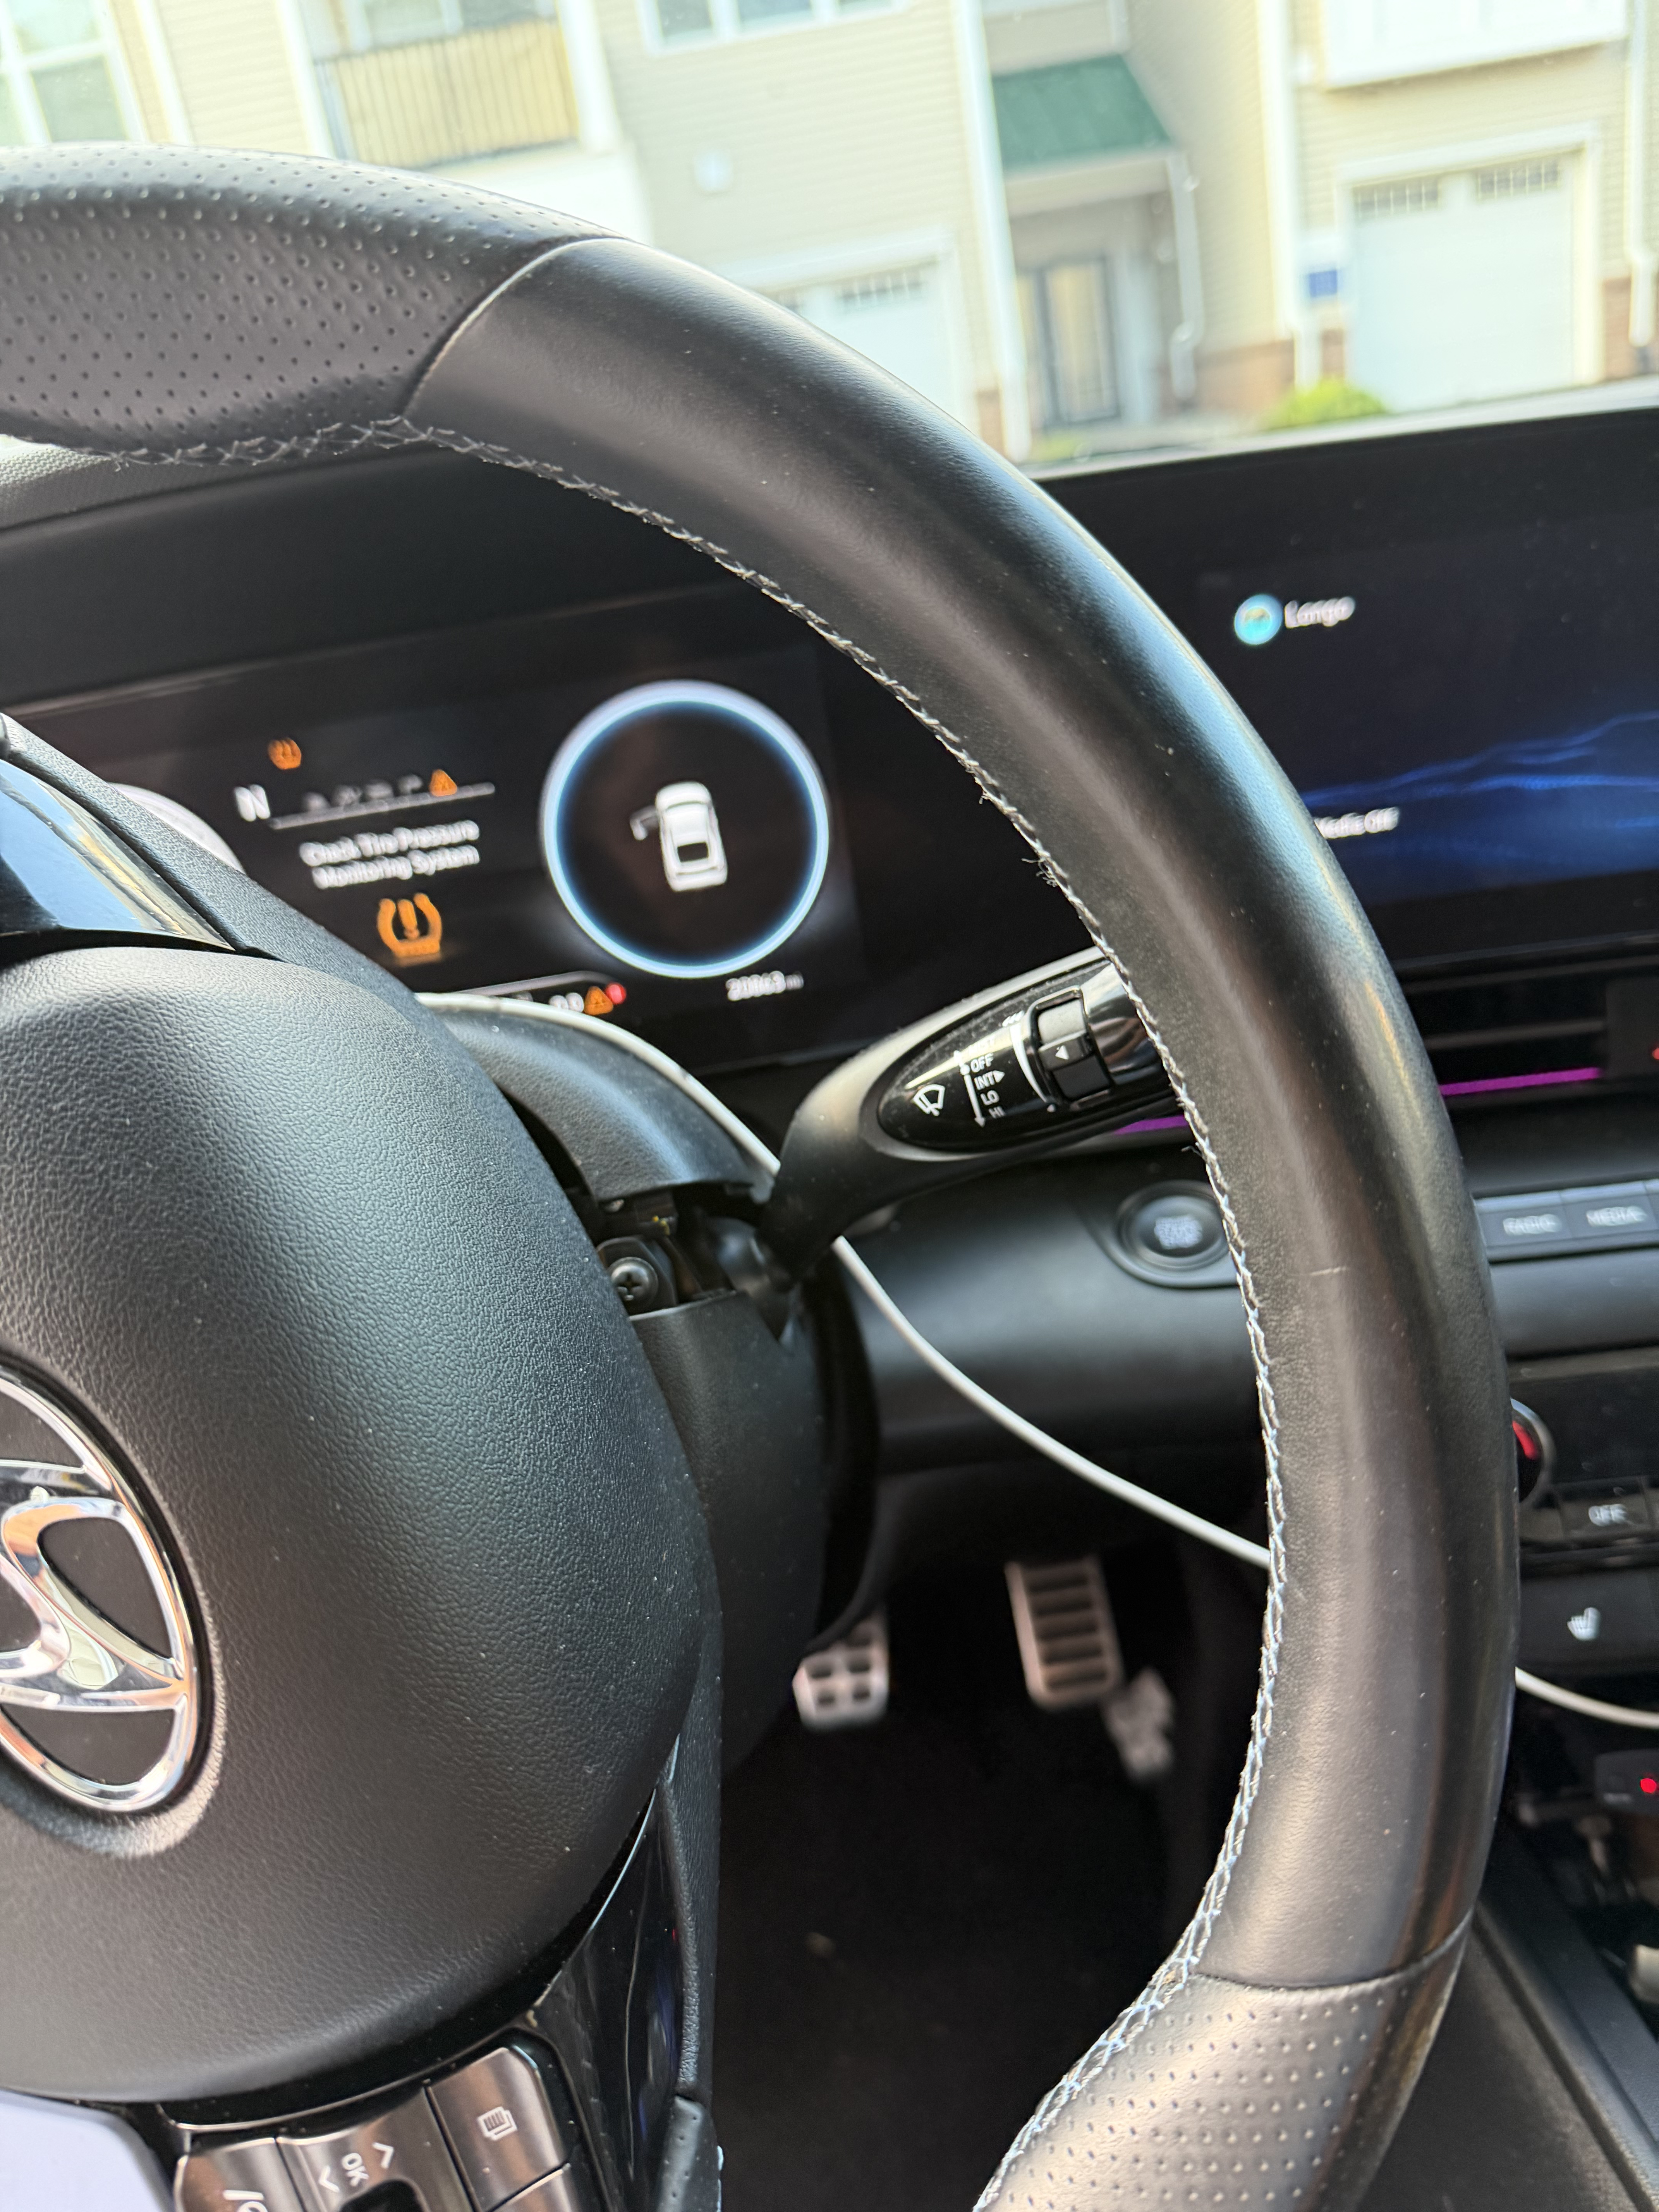
Remove steering wheel lower trim panel
- Unscrew the screw right below the steering wheel
- Pull the top panel up to release the clips using flathead screwdriver or trim removal tool
- Start the car and turn the steering wheel to the left and right to expose two more screws and remove them
- Pull the bottom panel down to release the clips and remove the panel
2
Match the wire colors
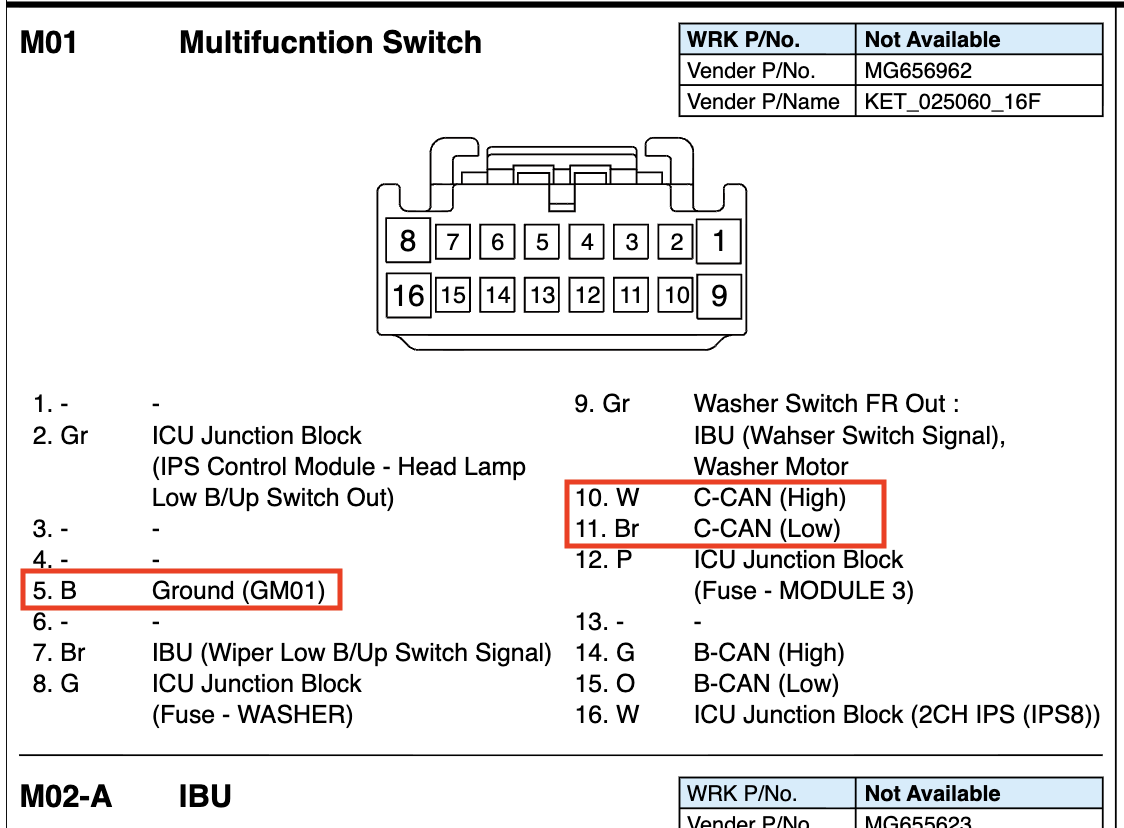
The wire colors on the N-Link CAN harness do not always match the vehicle's CAN harness colors. First identify which harness version you have, then use the matching table to identify which wire taps into which:
- V2 harness — CAN wires are yellow and green
- V1 harness — CAN wires are white and red
| N-Link CAN harness | Vehicle CAN harness |
|---|---|
| Yellow | White |
| Green | Brown |
| Black | Black |
3
Tap the required wires
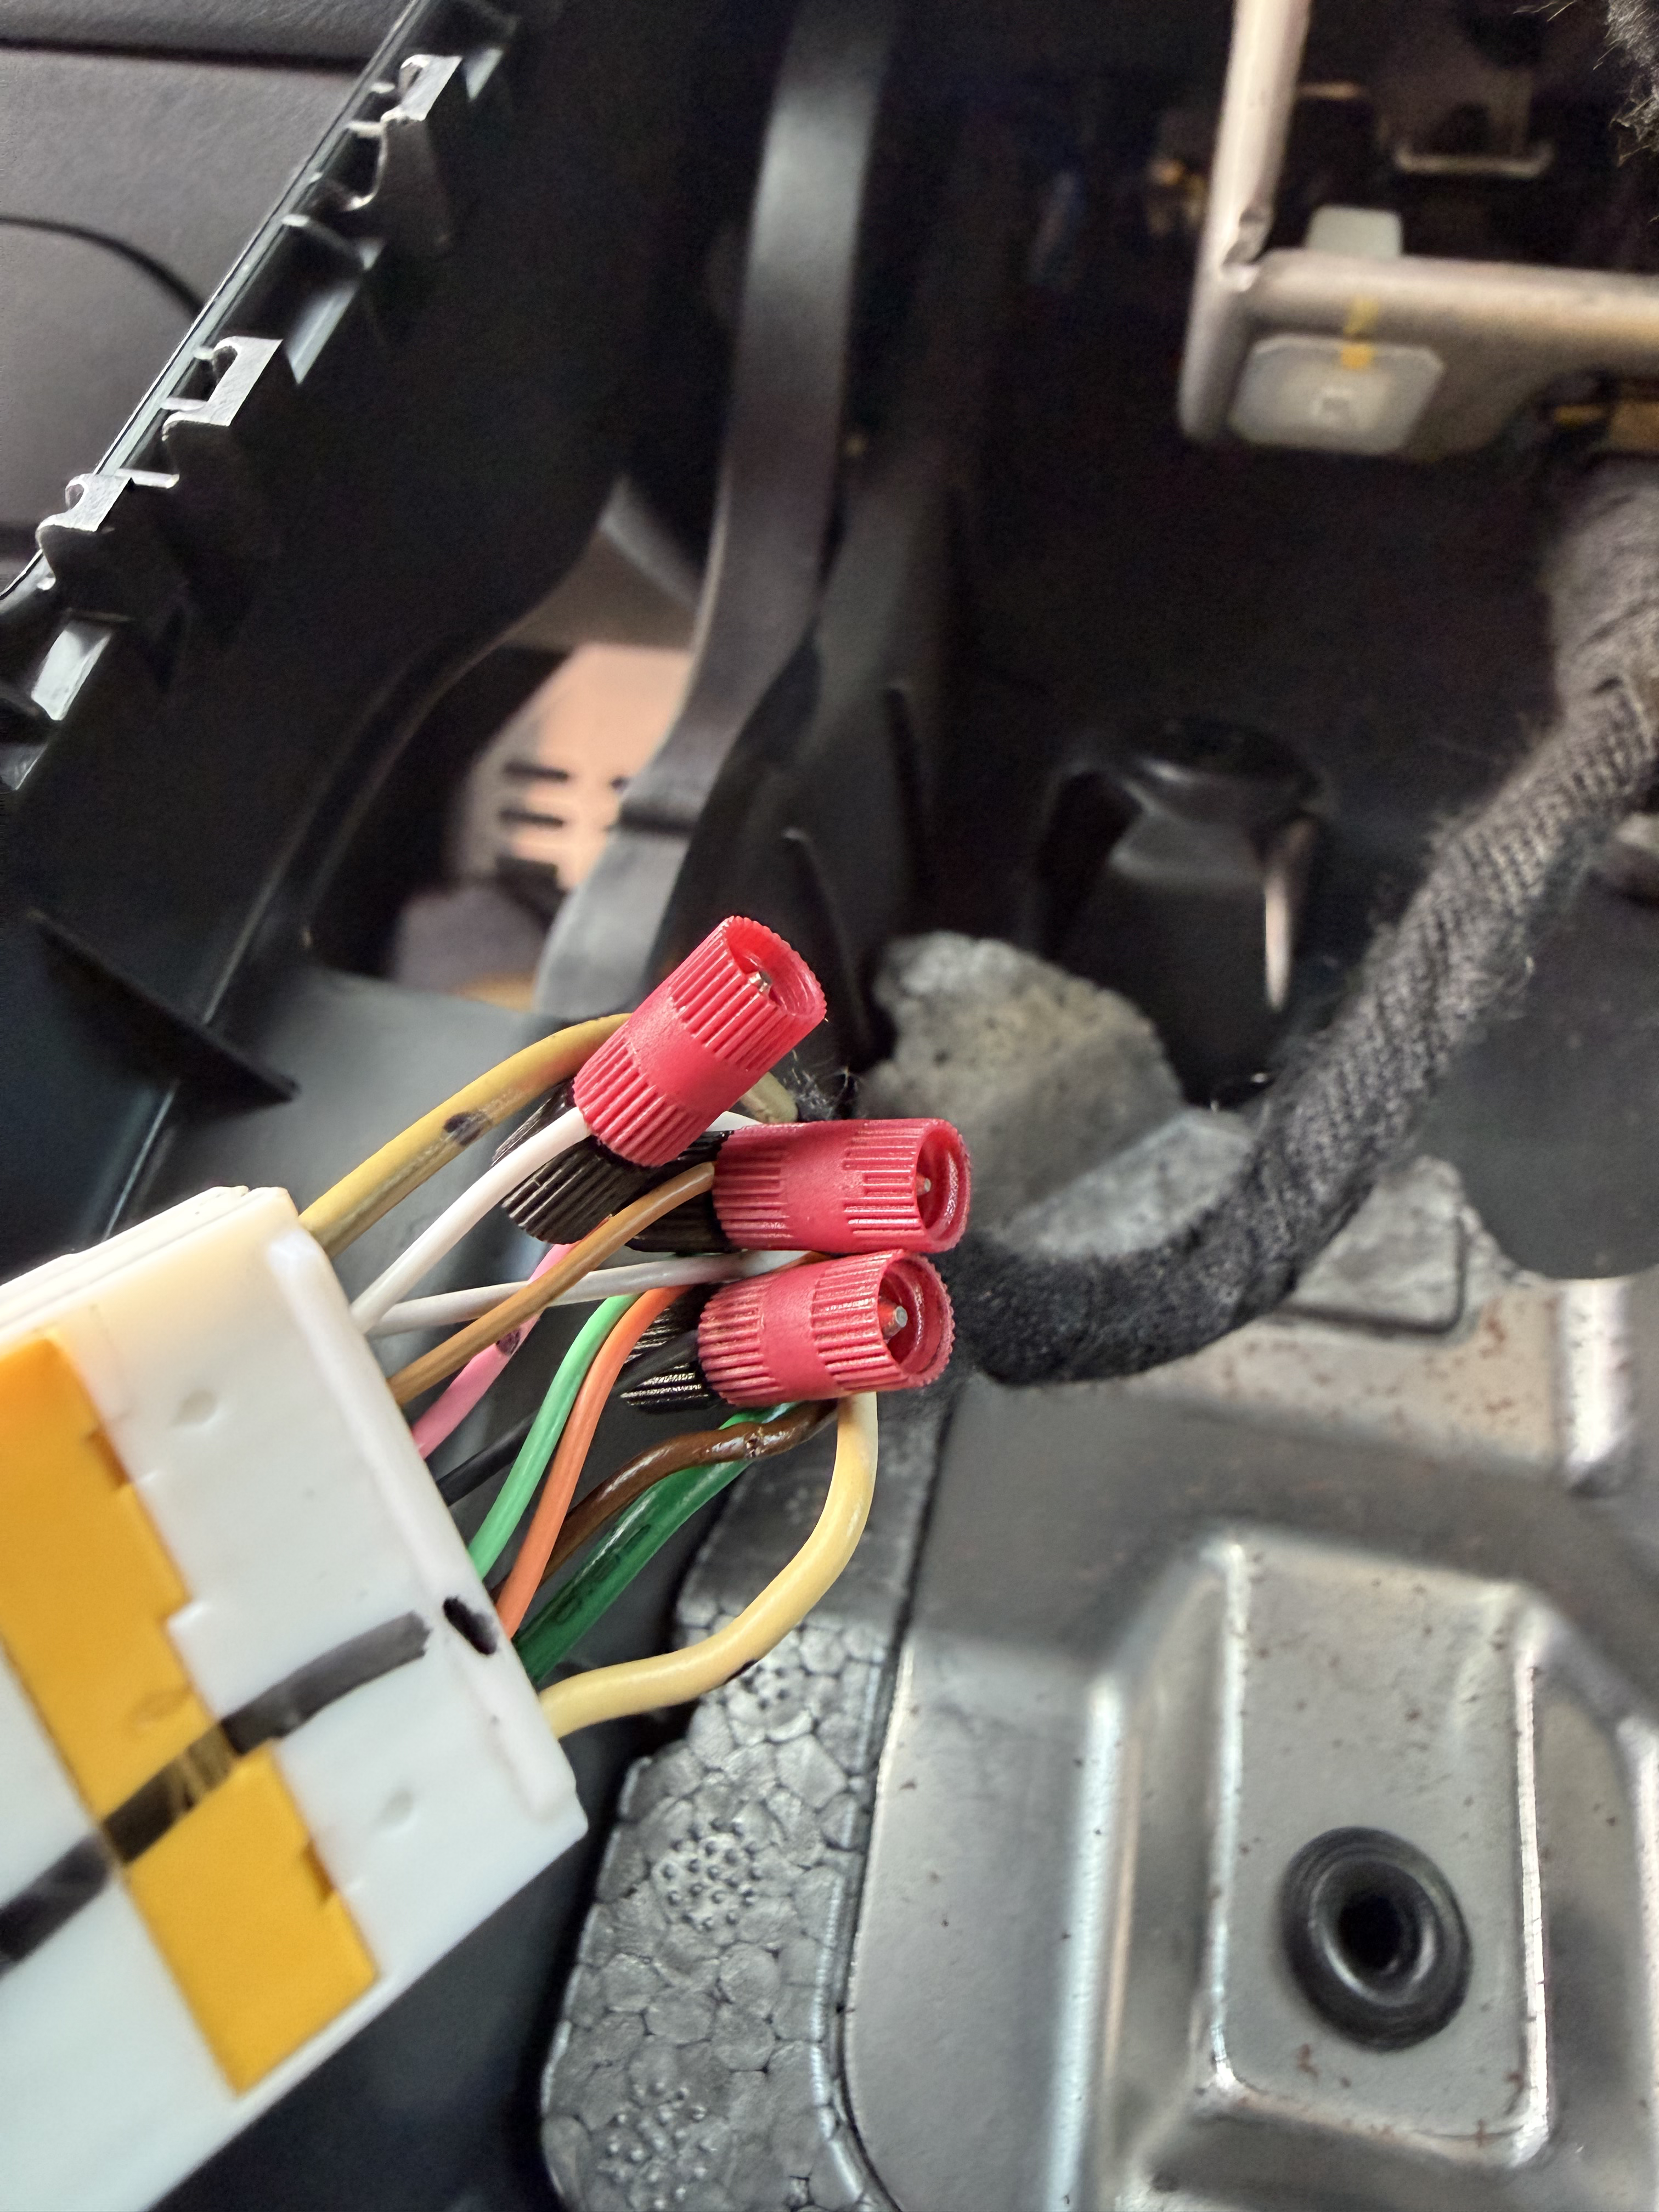
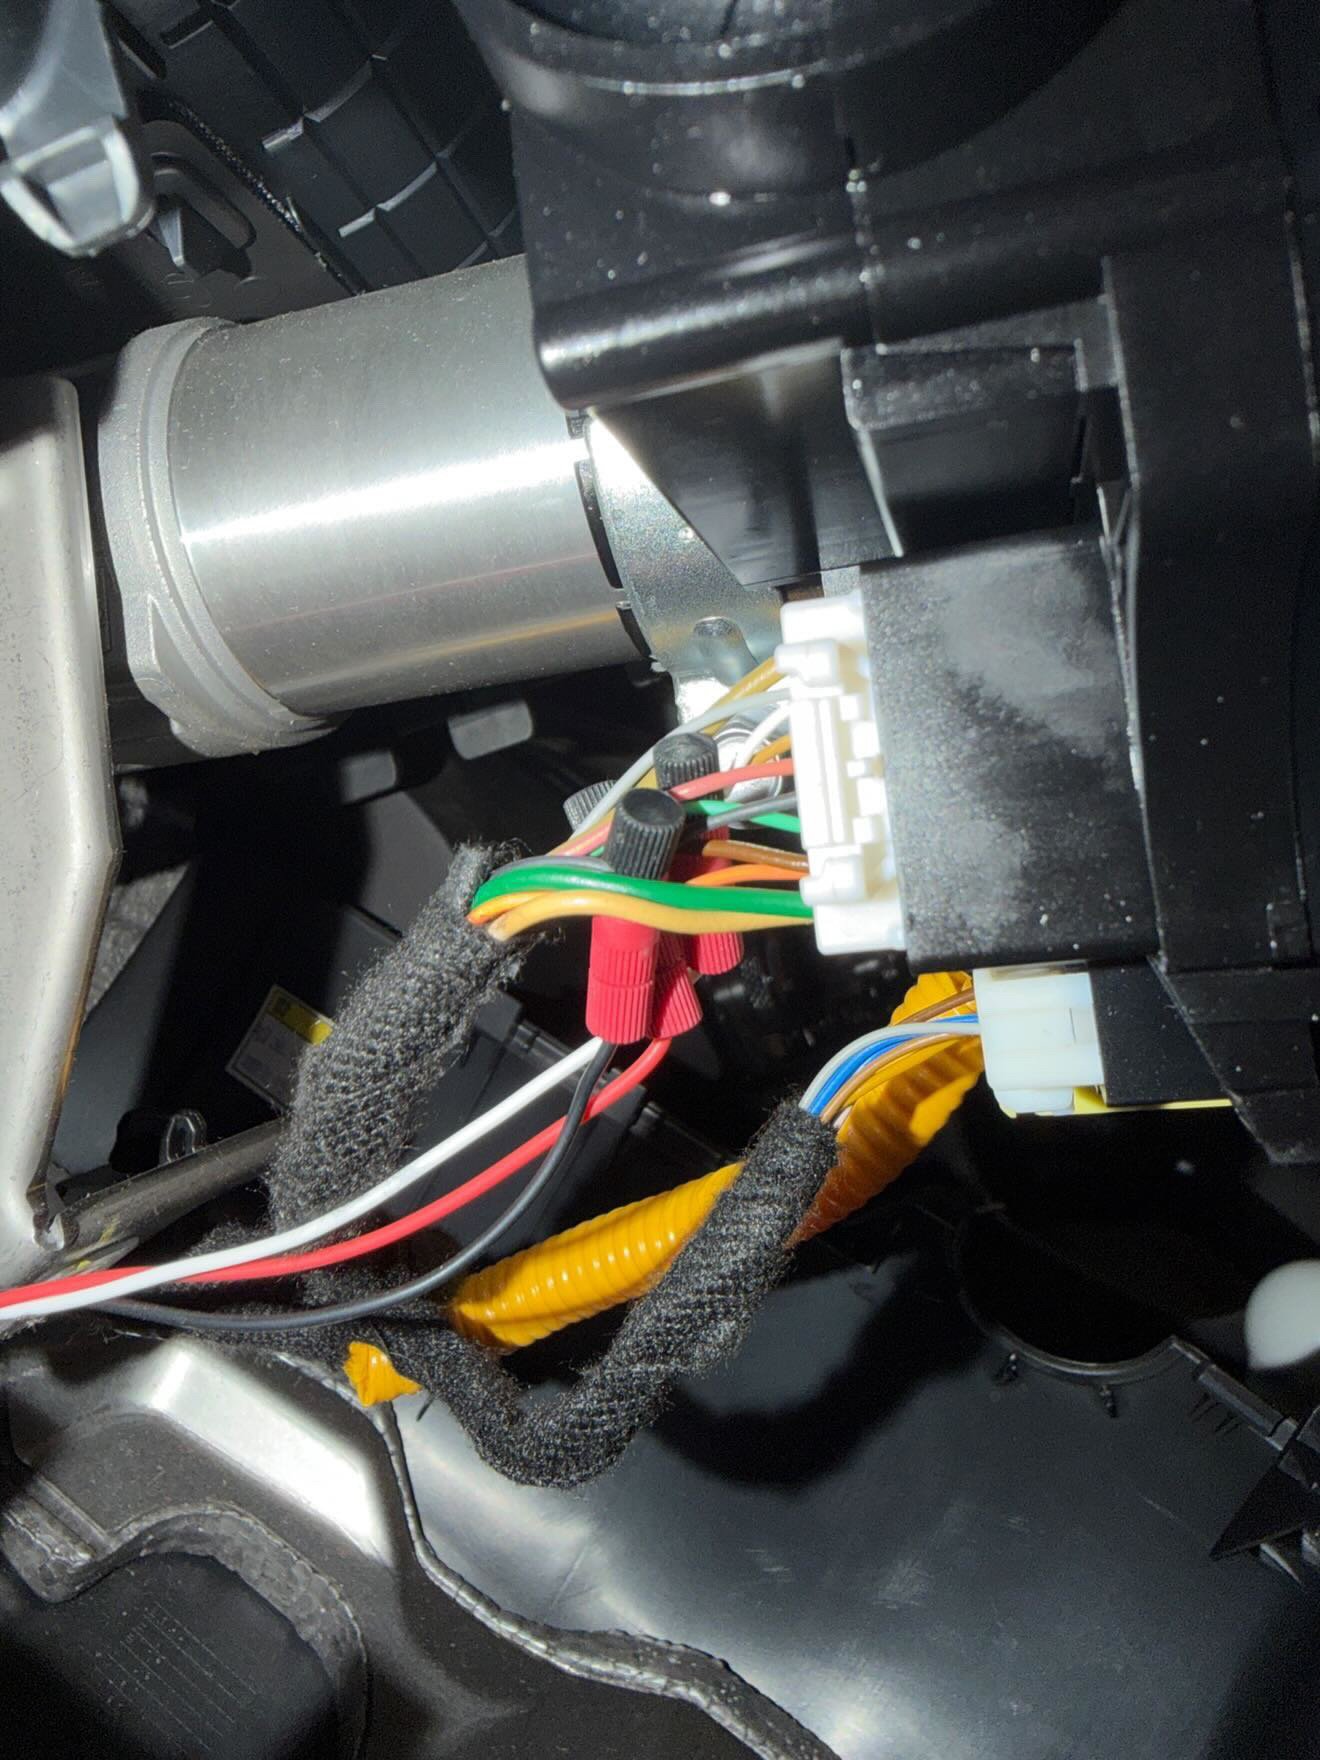
- Locate and remove the CAN harness on the left side of the steering column.
- Tap the white, brown and black wires on the CAN harness using the supplied posi taps.
- Attach the corresponding wires from the N-Link harness to the posi taps. Confirm the connections are secure.
4
Route and secure the cable
- Route the cable behind the trim panel around to the fuse box area.
- Plug the power harness into the N-Link.
5
Install the power harness
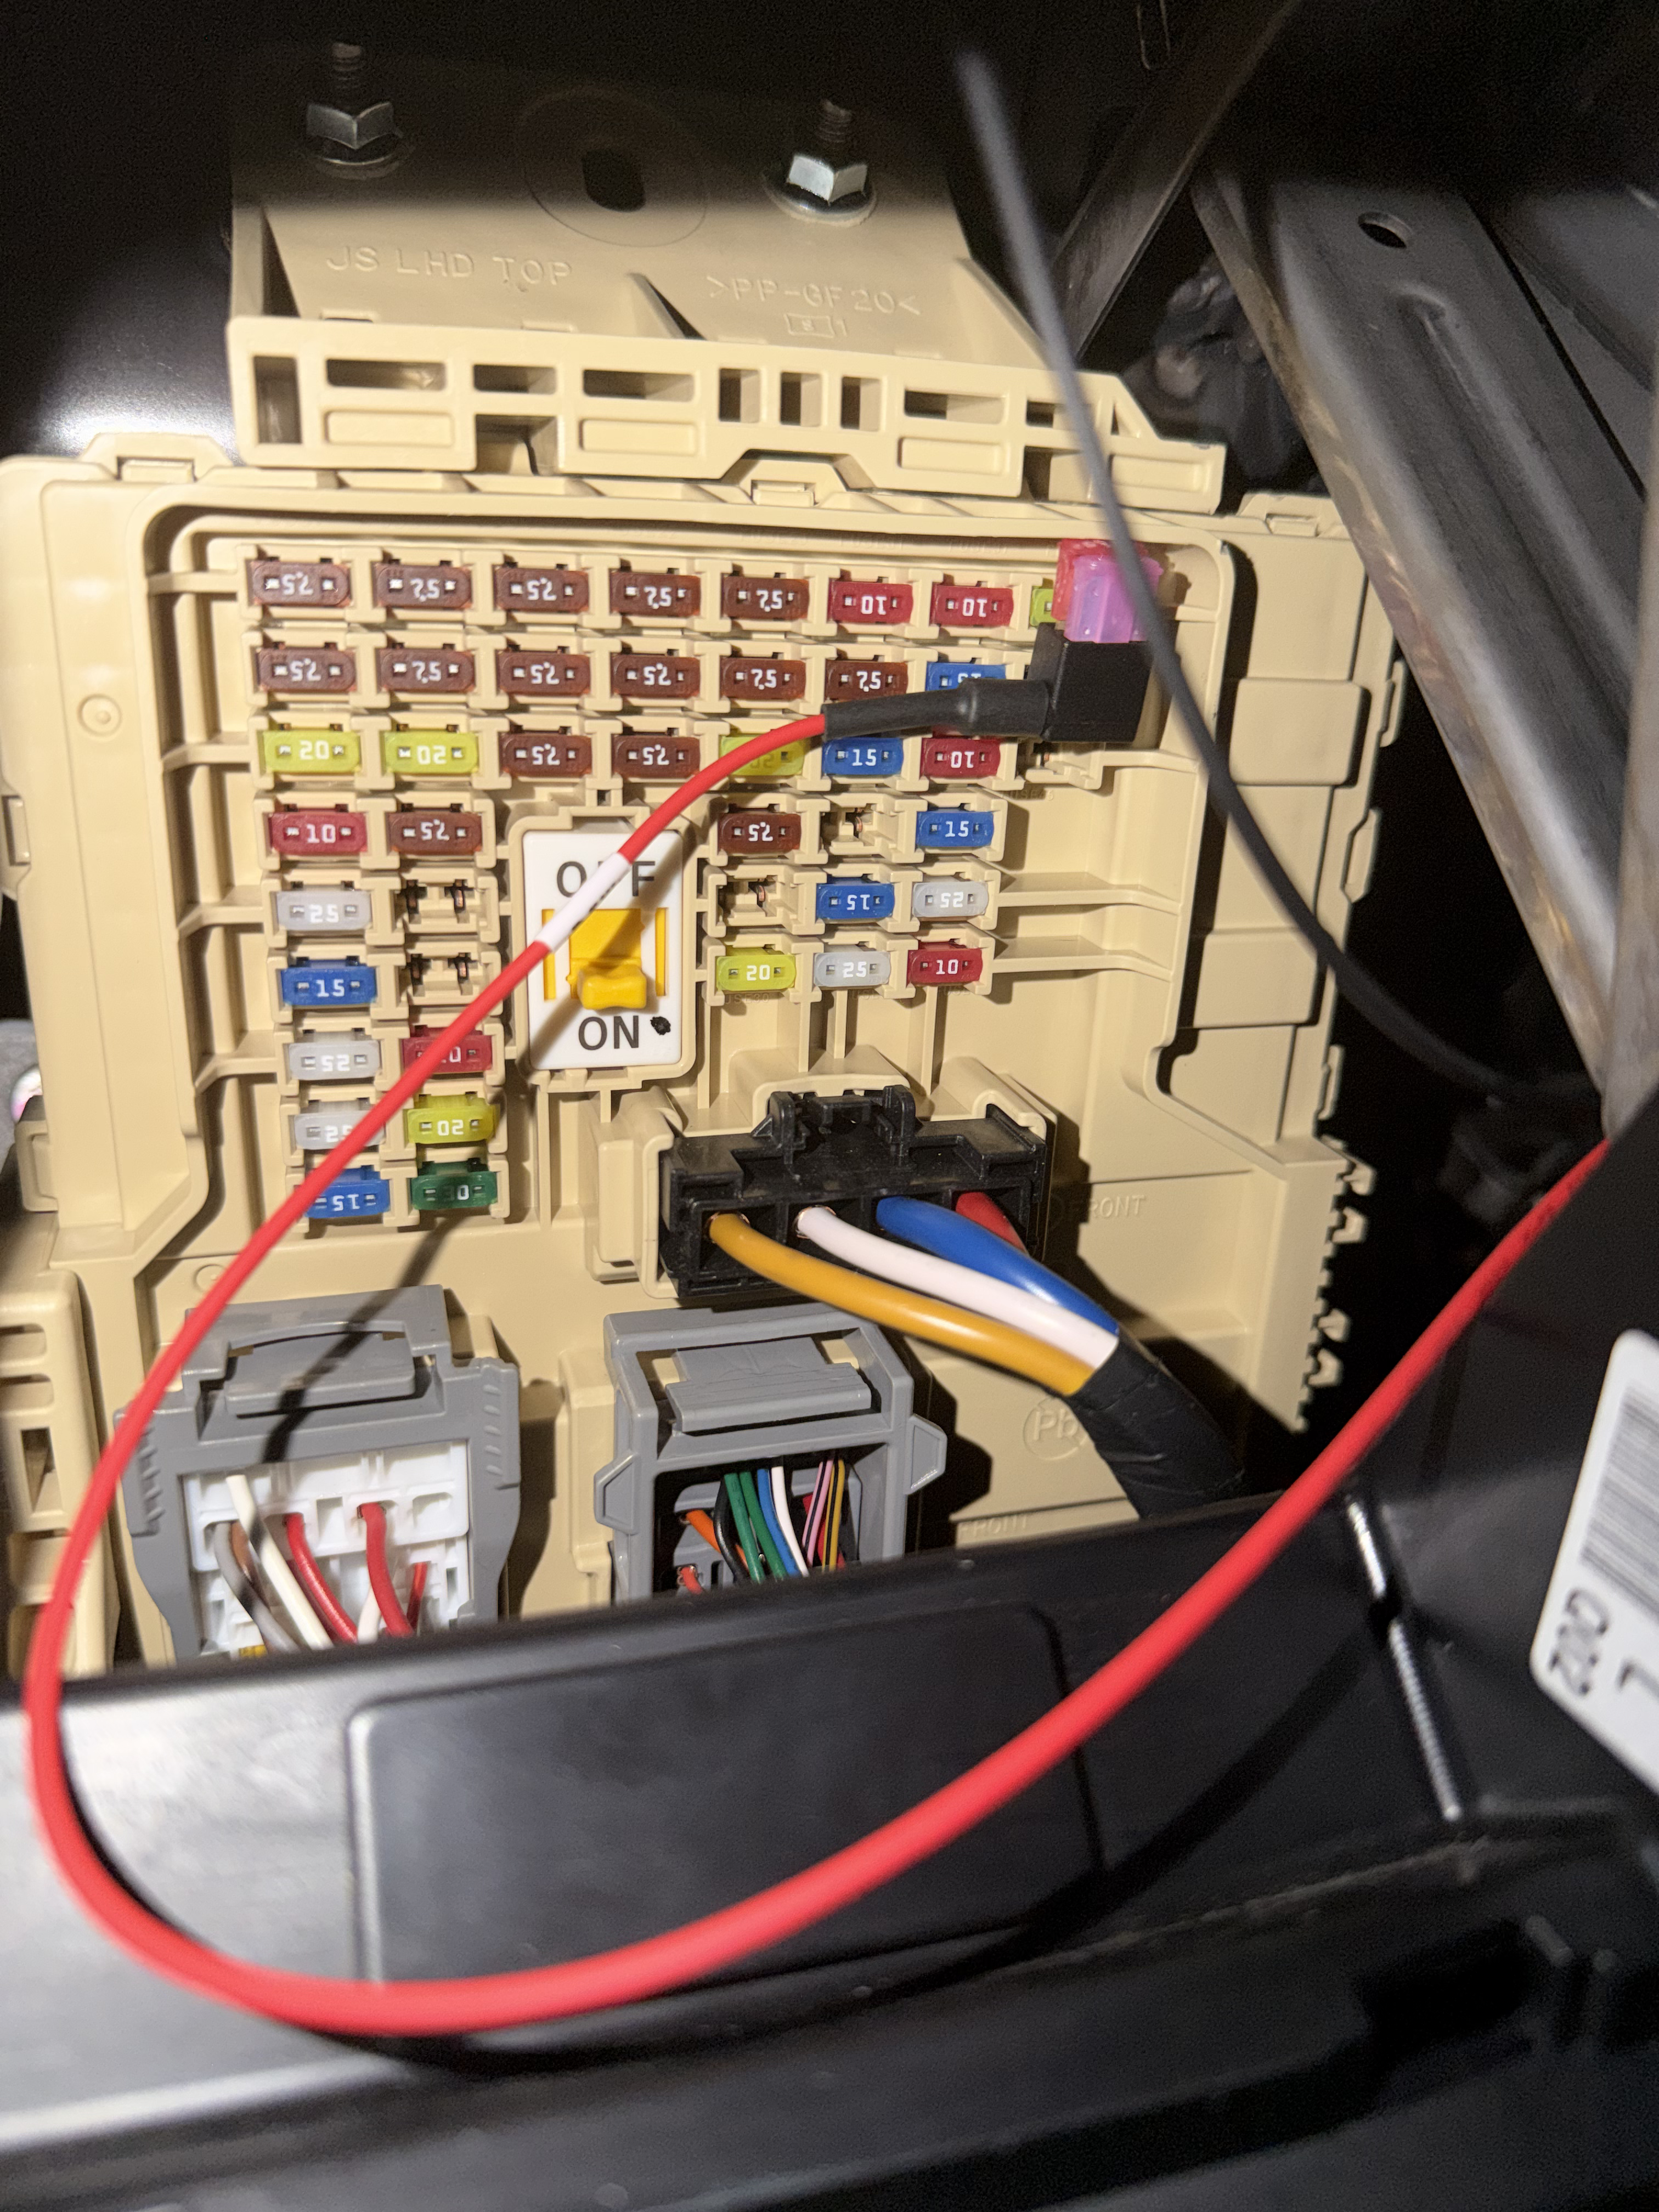
- Remove one of the spare fuses in the fuse box.
- Insert the removed fuse into the fuse tap to complete the power connection.
- Plug the power harness fuse tap into the empty slot.
- Find a ground connection point nearby and secure the ground wire with a u-terminal and screw.
6
Confirm the N-Link is powered
Confirm the N-Link powers by checking for the blinking LED light on the module. If the N-Link does not power on, confirm all connections are fully seated and secure.
Next step
Continue to App Install & Setup to pair the N-Link with KDMLink.