Plug and Play Install
Use this method when your vehicle supports a direct N-Link connection using the CAN bus harness. Current plug-and-play vehicles are listed on Compatible Vehicles.
1
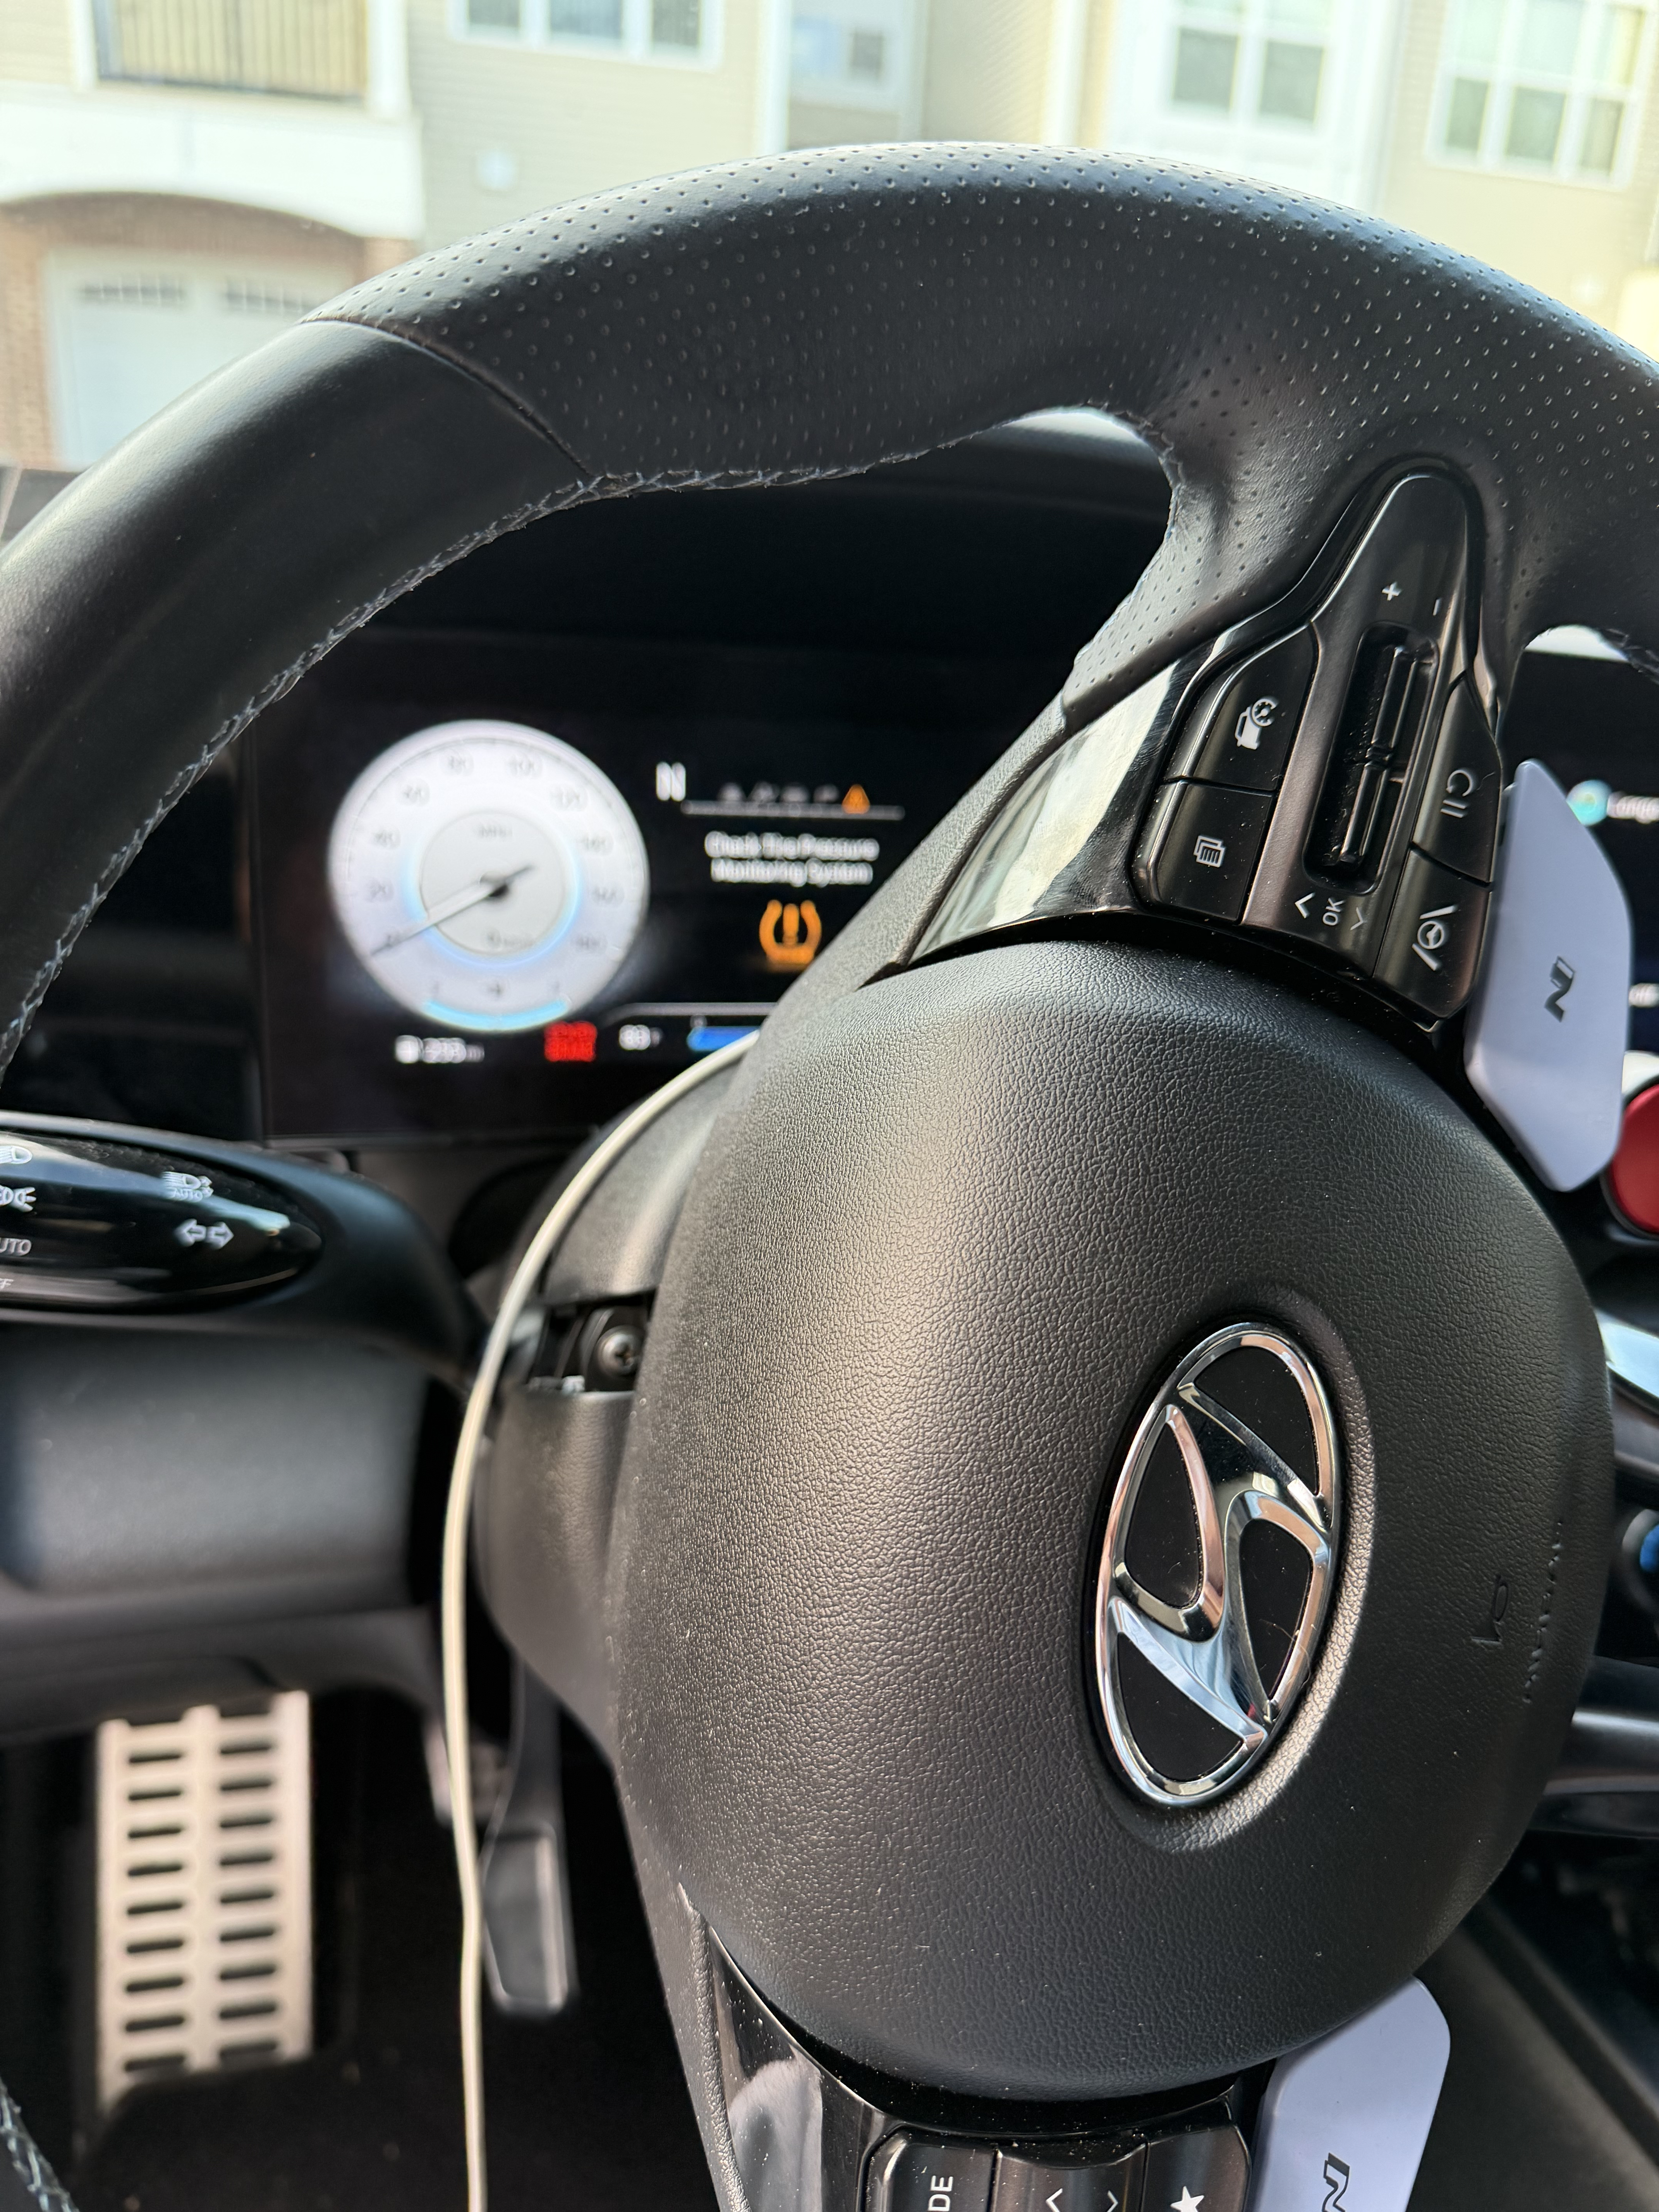
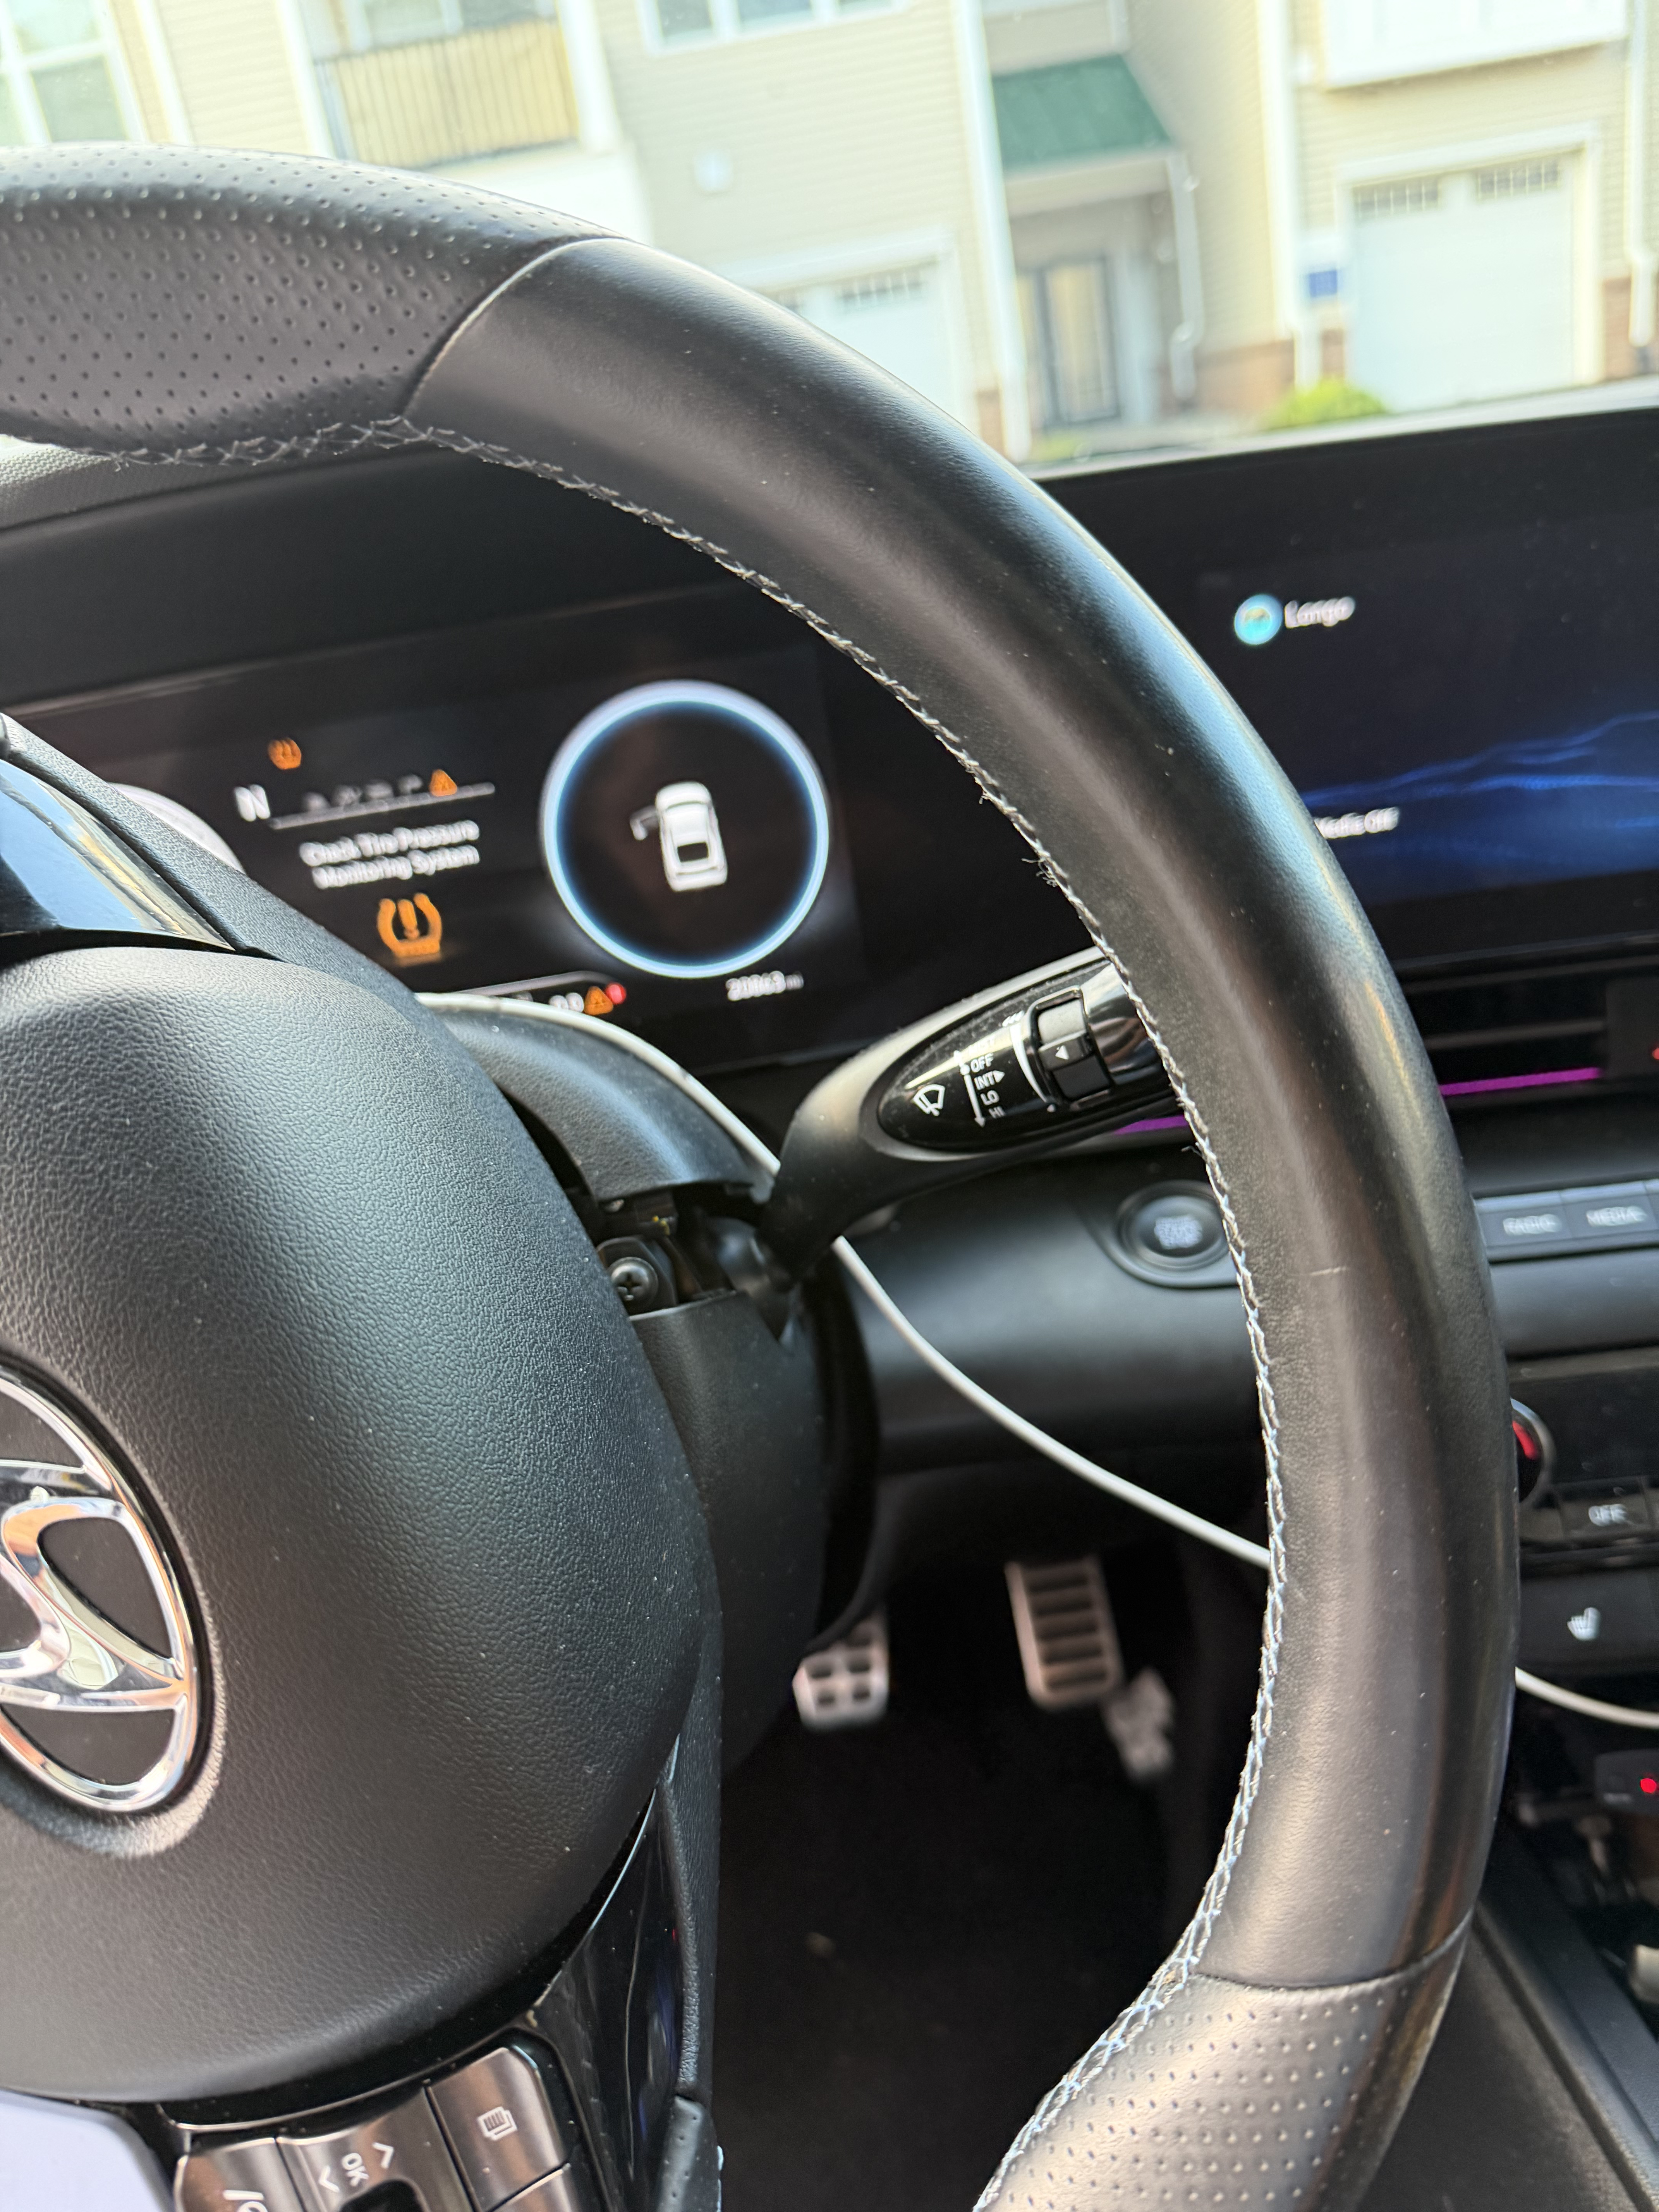
Remove steering wheel lower trim panel
- Unscrew the screw right below the steering wheel
- Pull the top panel up to release the clips using flathead screwdriver or trim removal tool
- Start the car and turn the steering wheel to the left and right to expose two more screws and remove them
- Pull the bottom panel down to release the clips and remove the panel
2
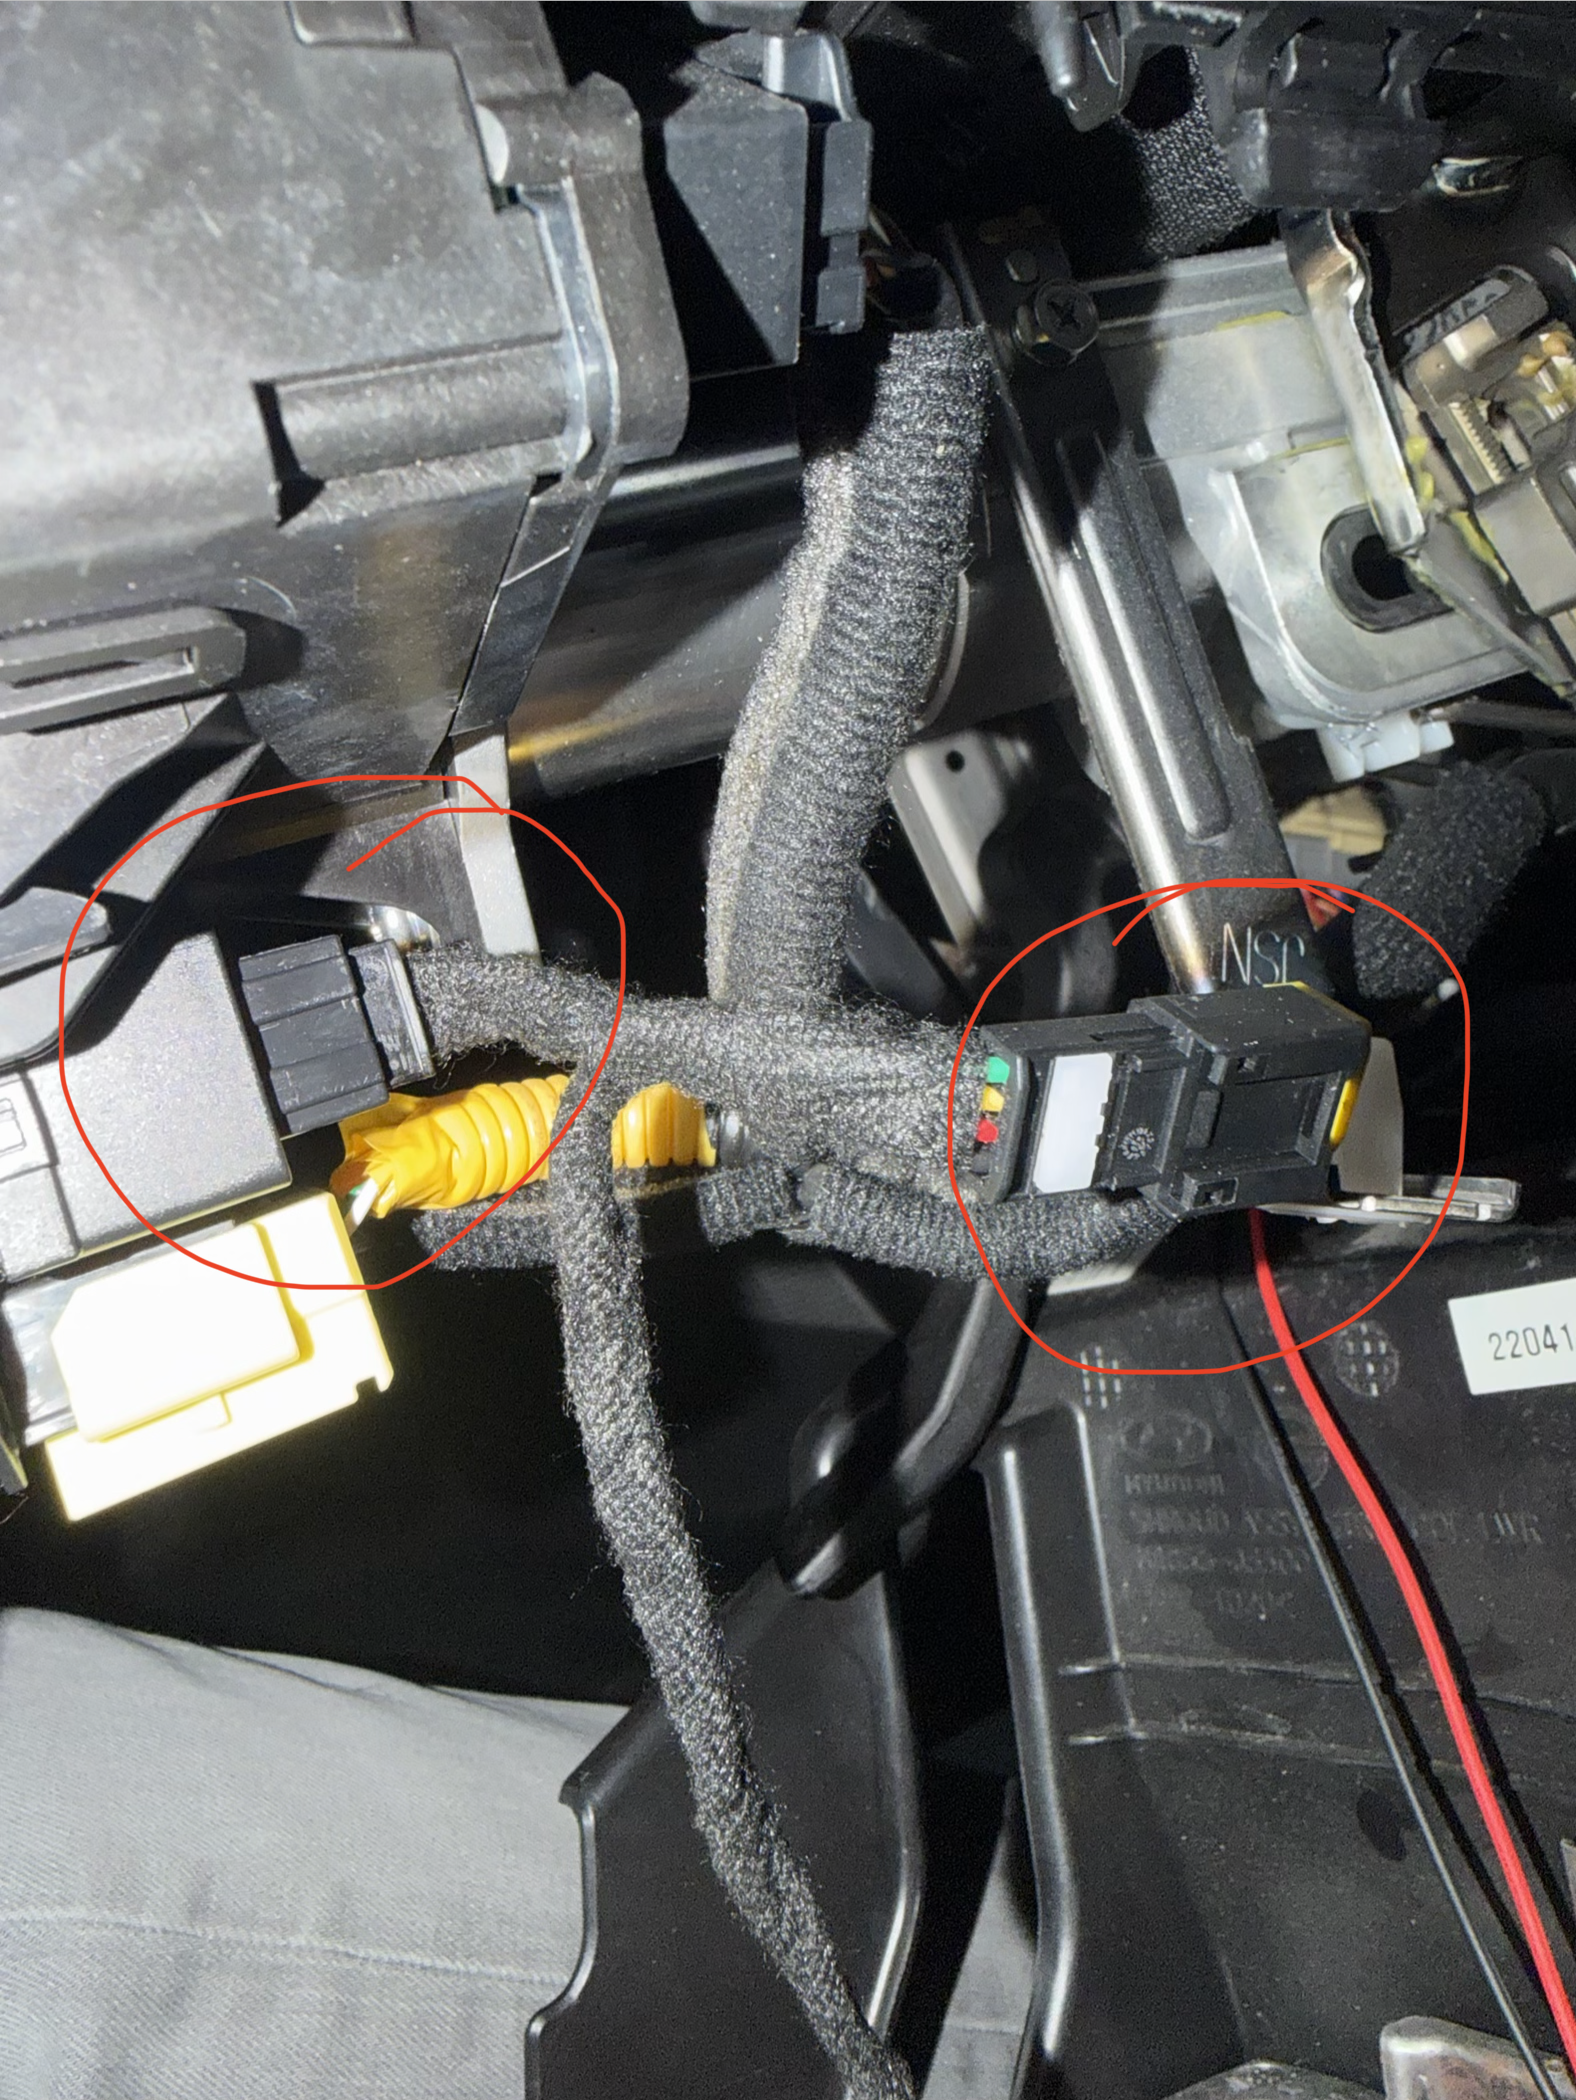
Plug in the N-Link
- Unplug the wiring harness and connect the can bus harness in between the vehicle connector and the wiring harness. Make sure the connectors are fully seated.
- Connect the CAN bus harness to the N-Link module.
3
Wire the harness to the screw terminal
Insert the three harness wires into the screw terminal in the following order, then tighten each screw to secure the wire:
- Green
- Black
- Yellow
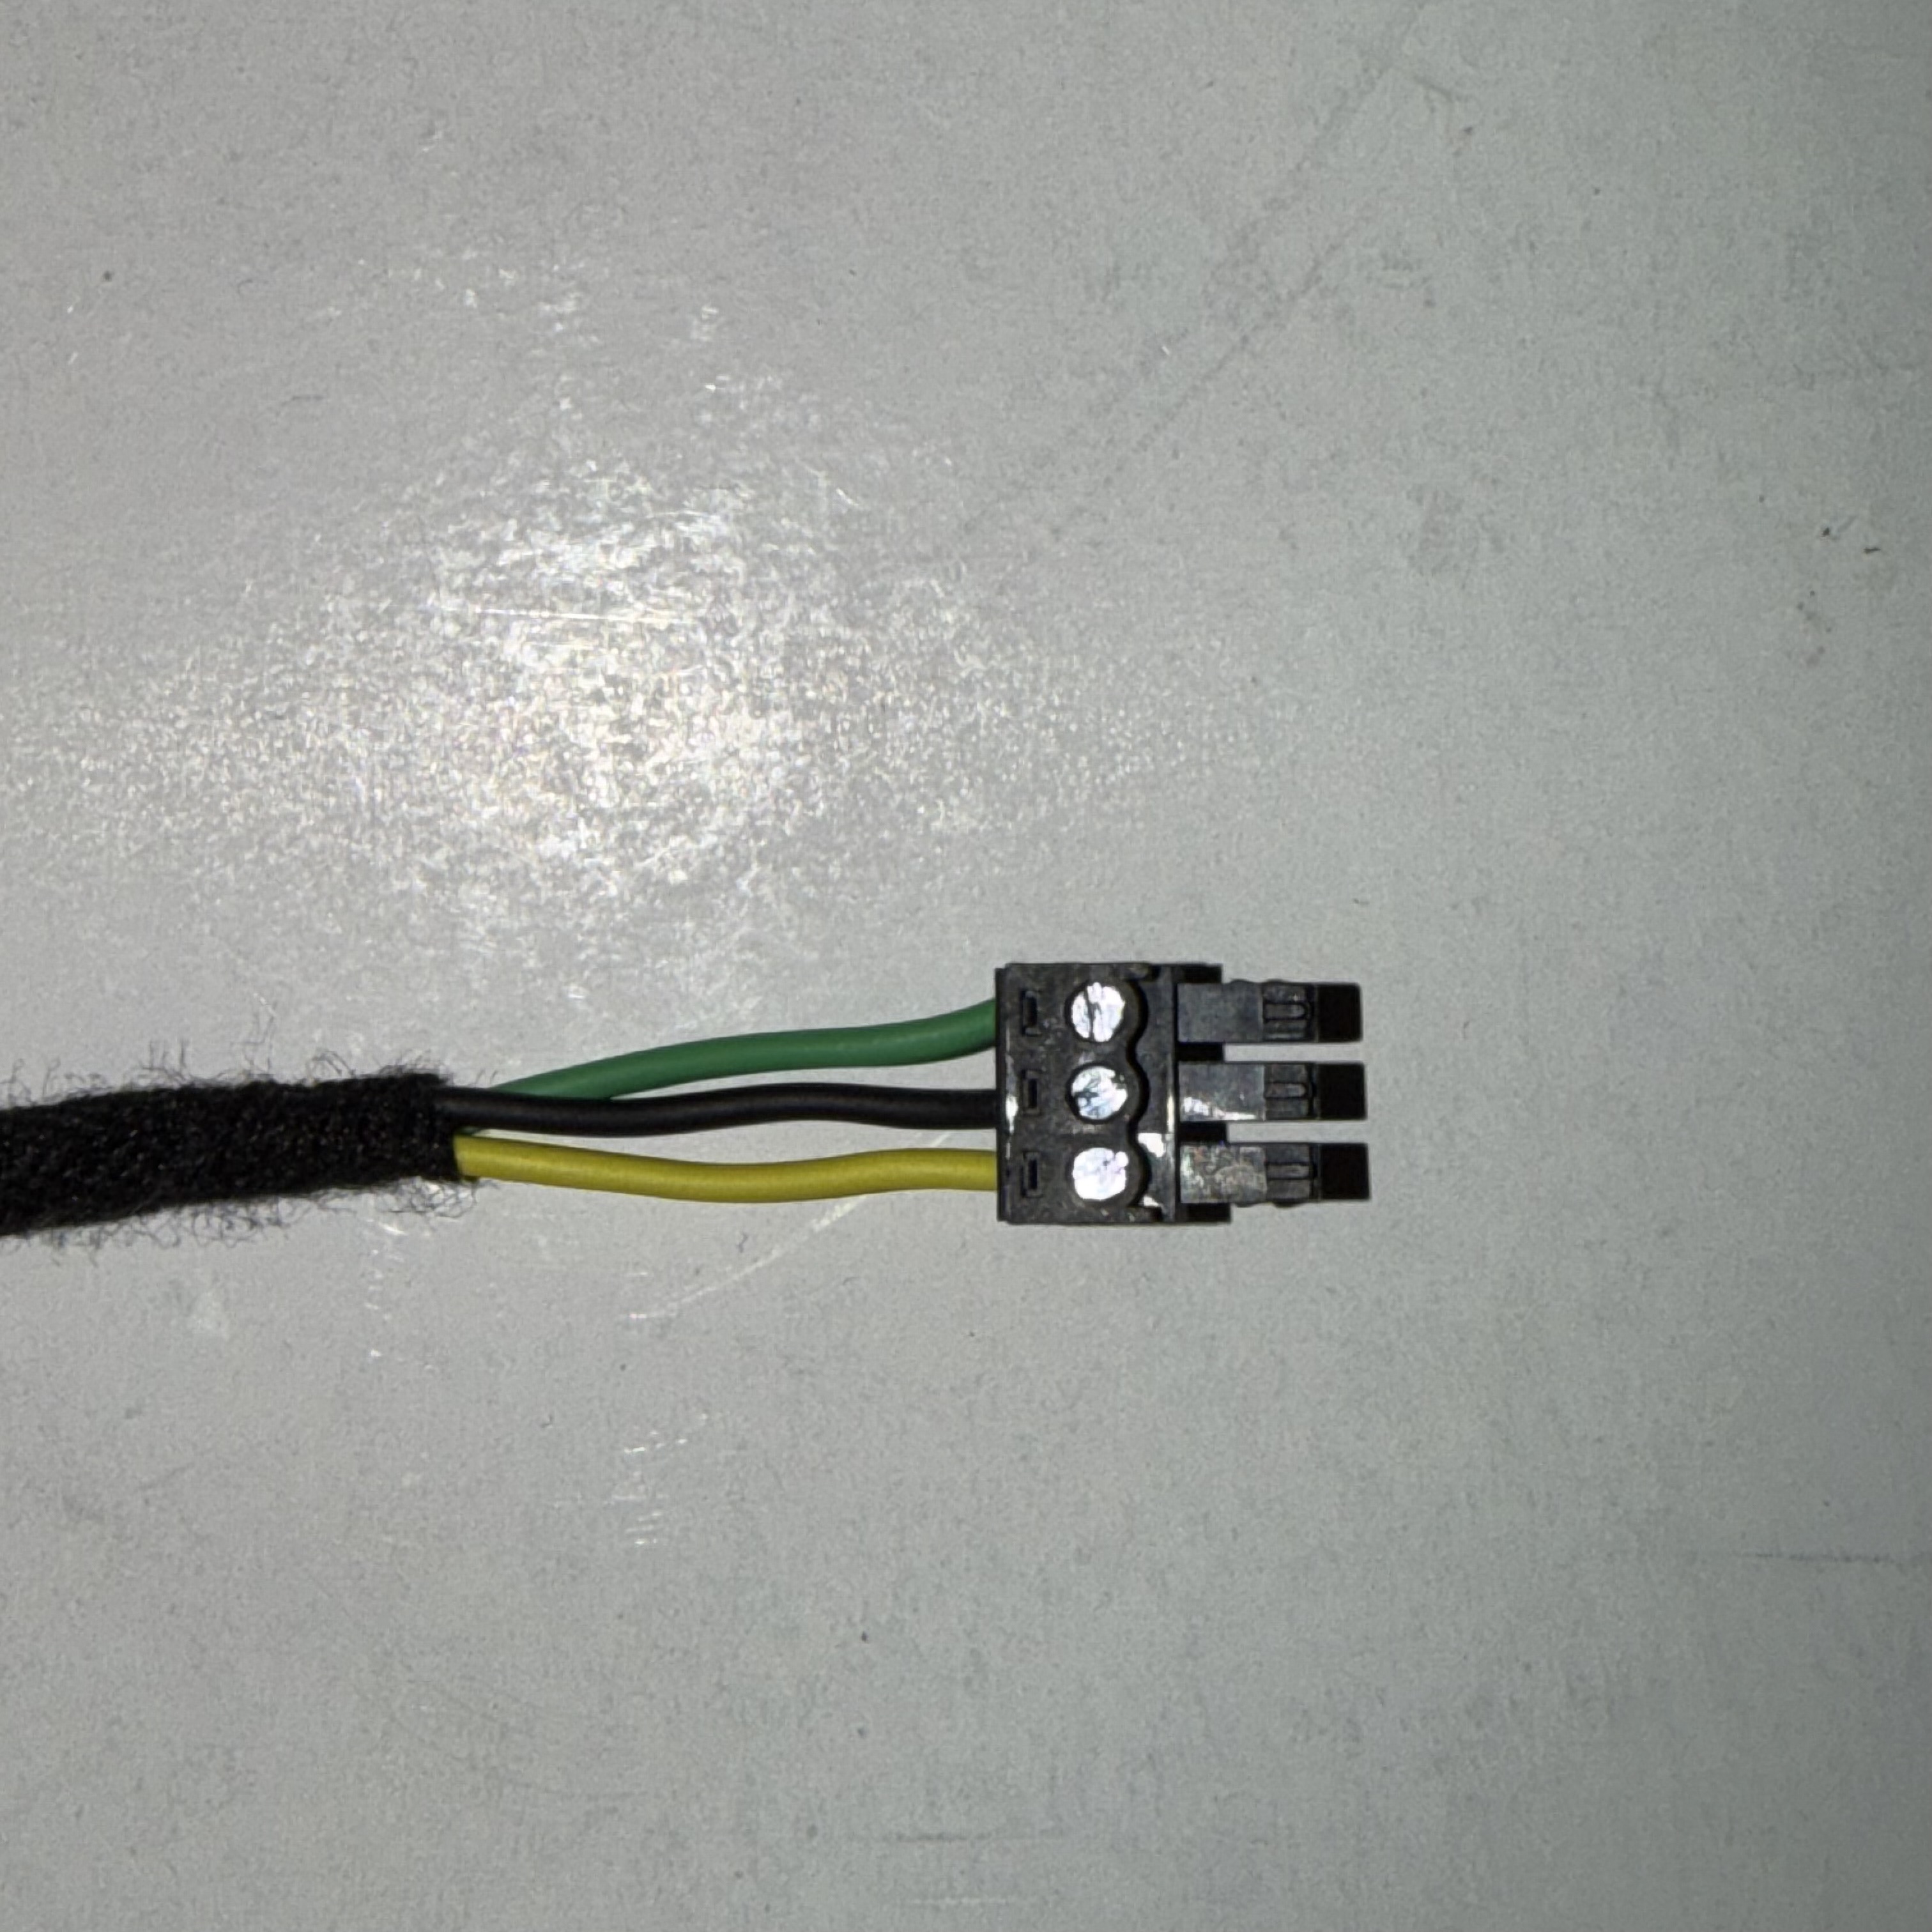
Reversed harness:
Some harnesses ship with the wires reversed and must be installed in the opposite order: yellow, black, then green. If the N-Link does not communicate after powering on, reverse the wiring order and try again.
4
Route and secure the cable
- Route the cable behind the trim panel around to the fuse box area.
- Plug the power harness into the N-Link.
5
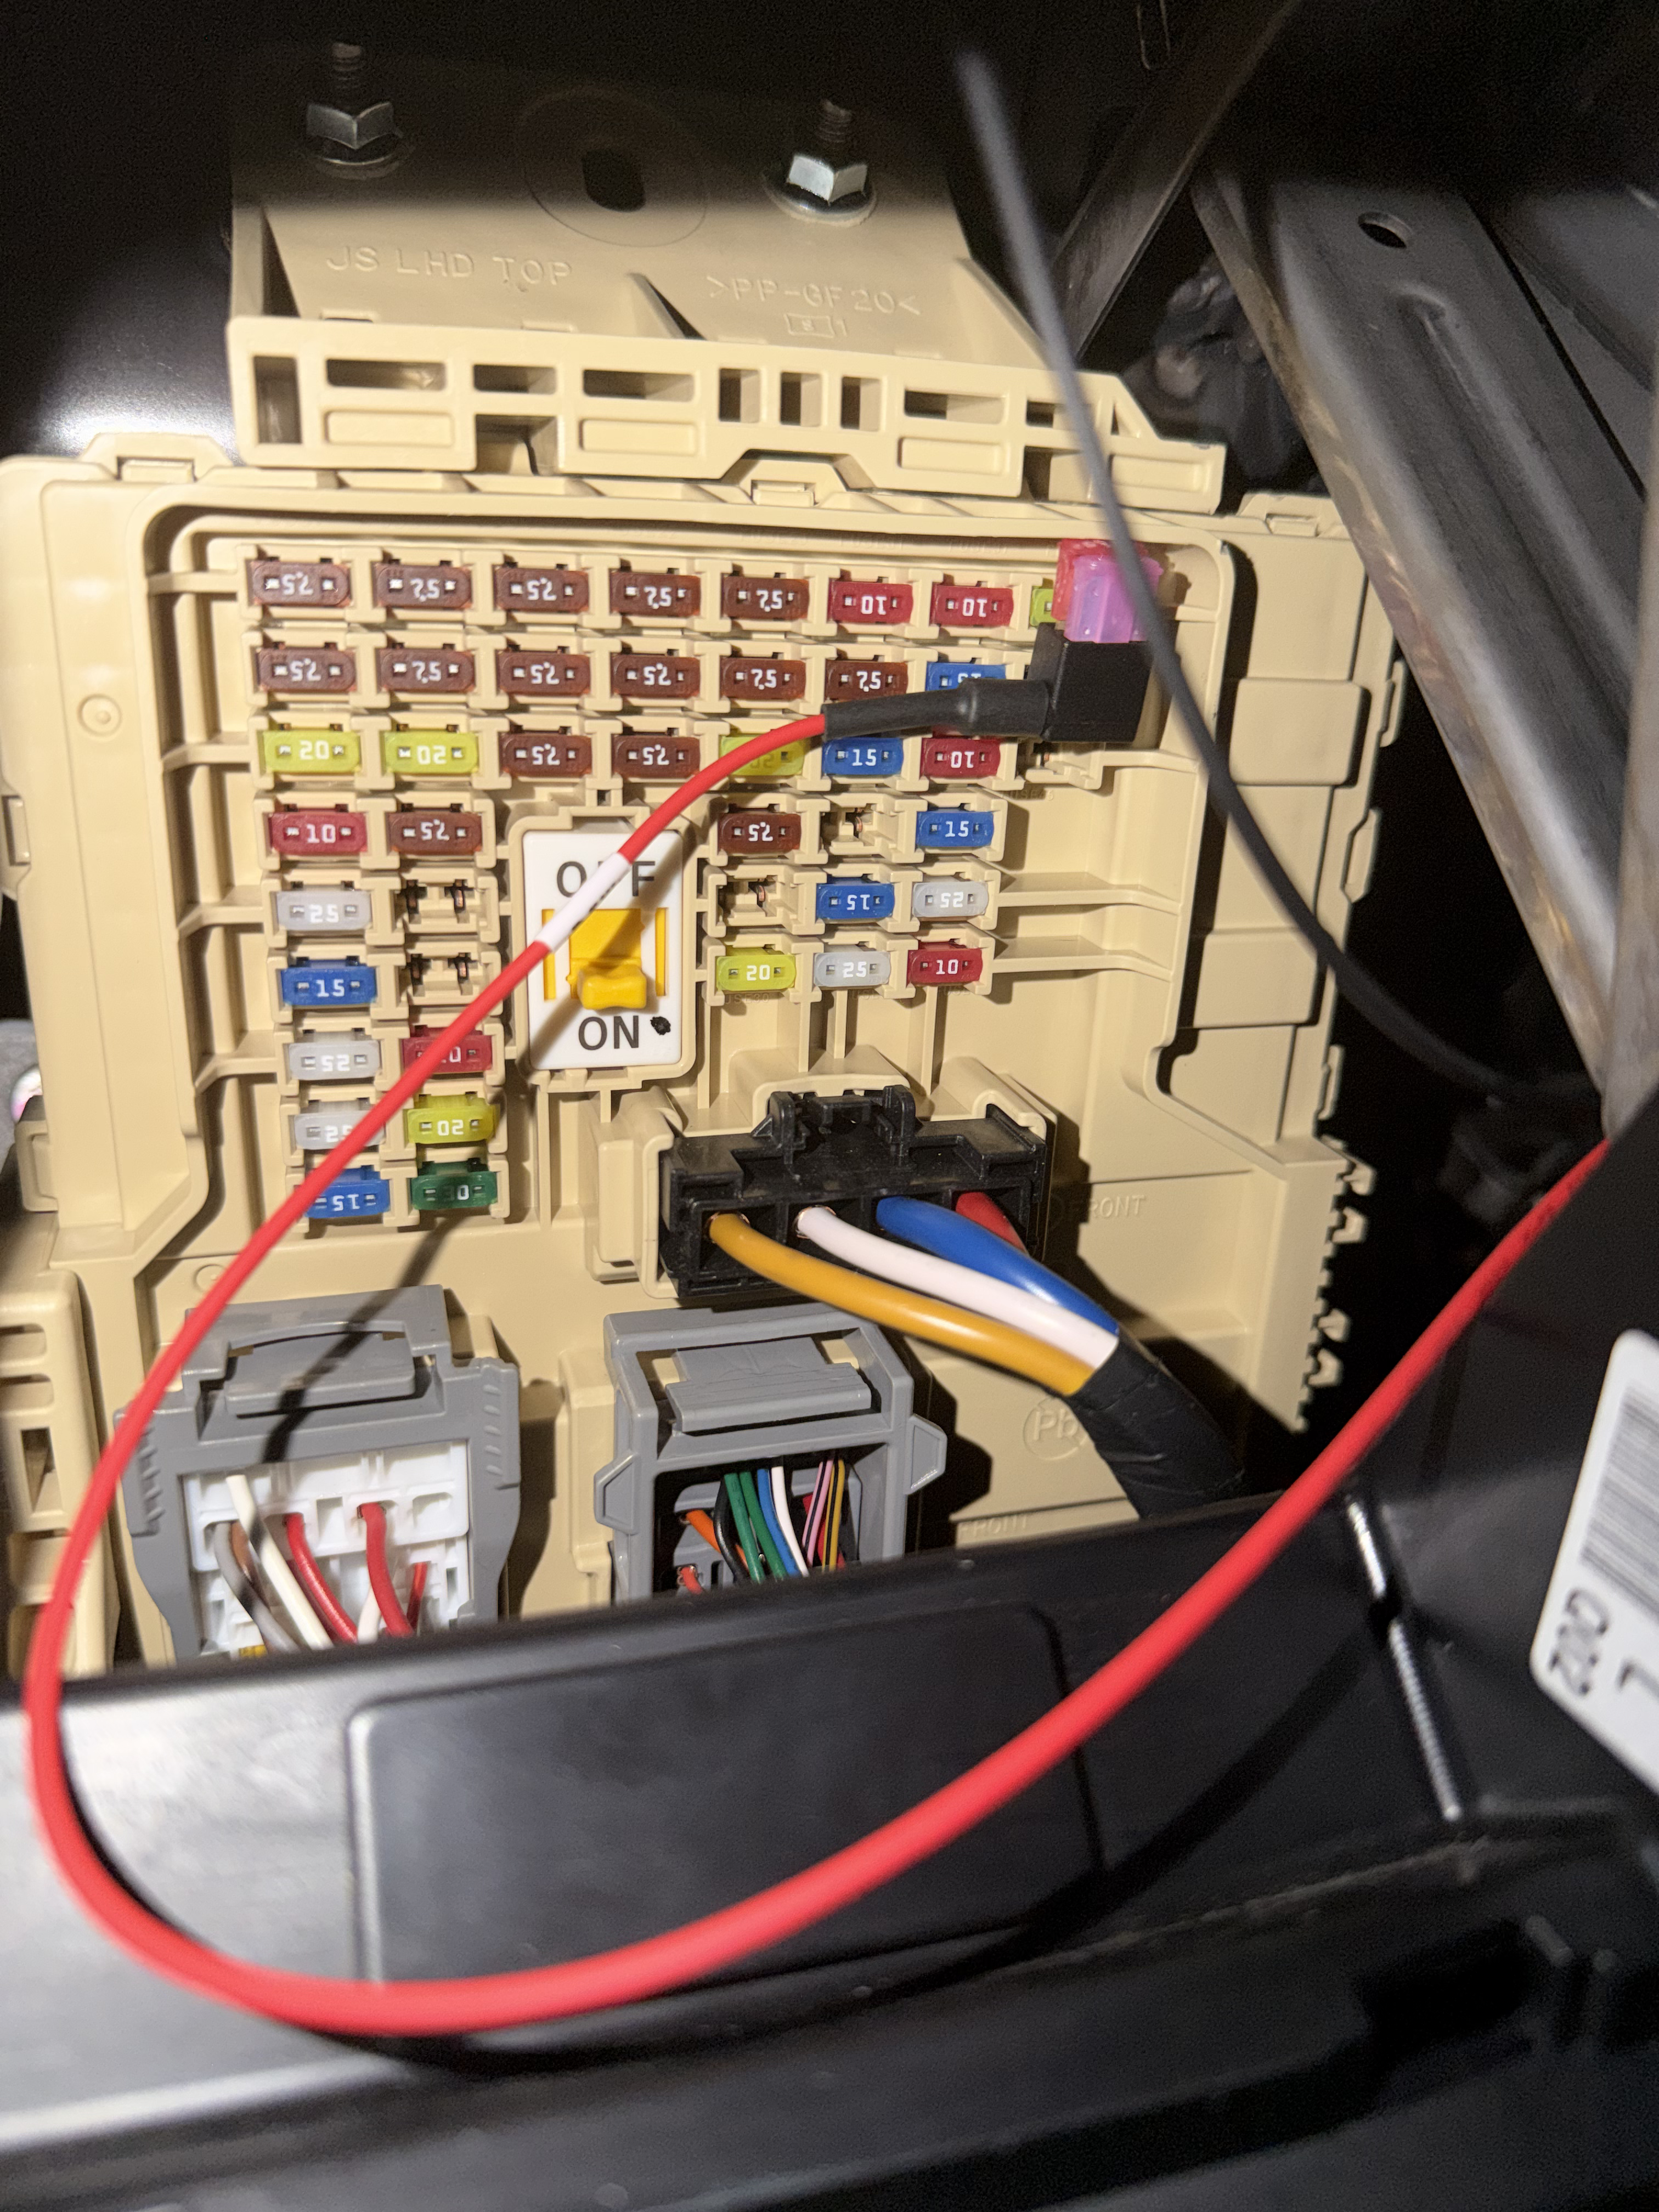
Install the power harness
- Remove one of the spare fuses in the fuse box.
- Insert the removed fuse into the fuse tap to complete the power connection.
- Plug the power harness fuse tap into the empty slot.
- Find a ground connection point nearby and secure the ground wire with a u-terminal and screw.
6
Confirm the N-Link is powered
Confirm the N-Link powers by checking for the blinking LED light on the module. If the N-Link does not power on, confirm all connections are fully seated and secure.
Next step
Continue to App Install & Setup to pair the N-Link with KDMLink.